
Hi-Fi LM3886 5.1 channel amplifier, with digital control - Introduction
1 - Intro, 2 - The design, 3 - Pre-amplifier, 4 - Power Amplifiers, 5 - Power Supply, 6 - Grounding, 7 - Control - Hardware, 8 - Control - Software, 9 - Android App, 10 - Summary
On this page...
The Short Description
Welcome! You can read information here about my Hi-Fi / Home Cinema system - a project that started during my time at university in 2003 and has been incrementally enhanced to quite a nice result throughout the years to 2018!
Originally a separate power amplifier, and pre-amplifier, during 2011 combined the two into one single case, and now in 2018 I have rebuilt it and added features to give excellent performance!
My home made amplifier is the king of my builds, and it is used every single day as the sound system for my TV, and occasional music use. It excels in both use cases!
In these pages - you'll find information about how I used the following microchips and technologies to create the solution.
- LM3886 68W Class AB Amplifier - also known as the Gainclone
- PGA2310 - Burr Brown Stereo Digital Volume Control
- OPA2134 - Burr Brown Dual low distortion, low noise operational amplifier
- PIC18F4455 - feature packed 16 bit microprocessor
- 74HCT595 - Serial in to Parallel out Shift Register
- ULN2003A - NPN Darlington transistor array
- PT2399 - Echo processor IC used for delay
- MAX7219 8-Digit 7 Segment modules
- TSOP4838 38KHZ IR (infrared) receiver
- JY-MCU HC-06 Wireless Bluetooth Serial Transceiver
- Android Bluetooth Application, written in Java
I've also written about how I solved challenges such as grounding, PSU design, Speaker Protection, wiring, heatsinking, and safety.
Features
Part of the redesign was to add features, but also make all amplifiers consistent and solve my nemesis of hum and buzz. I also wanted a plain and simple design, with simple remote control and easy adjustment of additional settings, without building 'DIY looking' controls over the front. As a result, the redesign features:
- 5x LM3886 power amplifiers - based on Rod Elliott's Project 19
- 6 channel pre-amplifier, controlled by PGA2310 - based on Mark Hennessy's Pre-amplifier, with additional simple surround sound processing
- Phono pre-amplifier and rumble filter, for the turntable
- A PIC18F4455 microchip - controls everything
- IR remote control - based on the Philips RC5 interface, programmed into a One For All Zapper 1
- Bluetooth (rs232) - giving me the ability to control my amp from my Phone
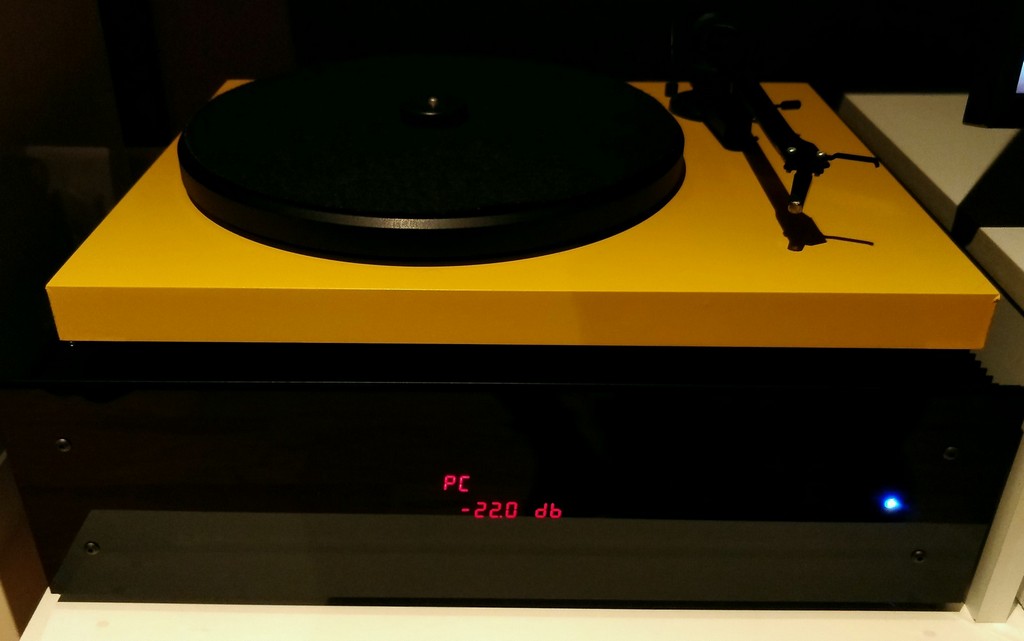
- On-appliance display, based on simple 7-segment LED character displays
- Android application - giving all control ability of my amp, without me needing to move!
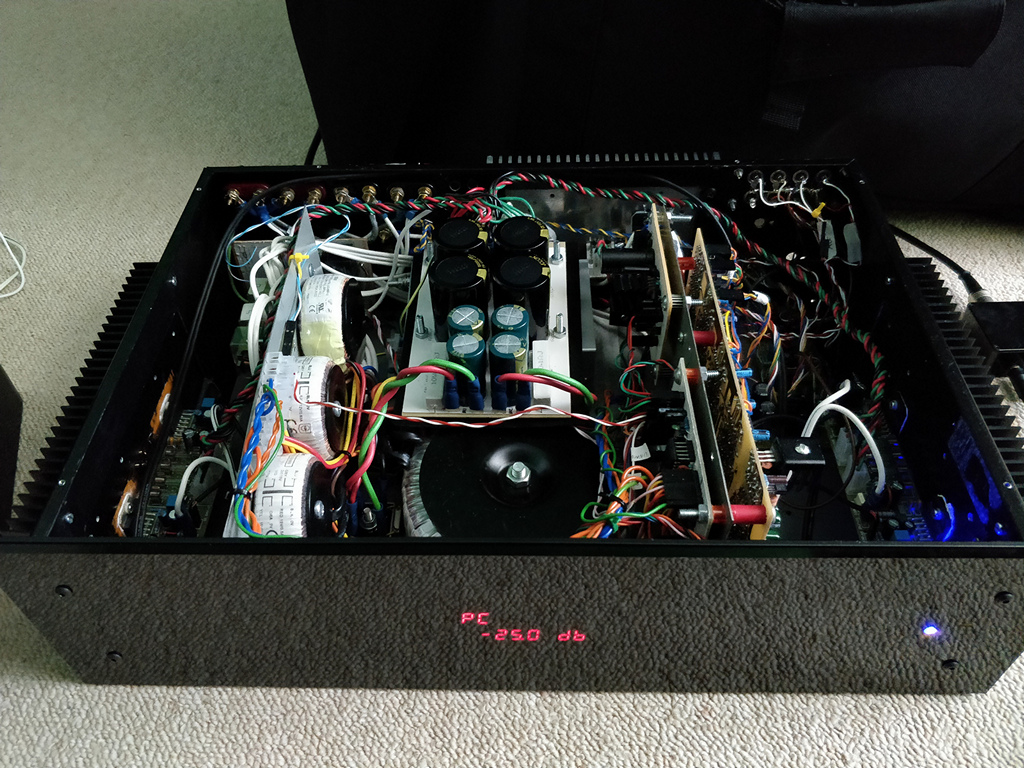
- Powerful linear power supply - based on a 500VA Transformer, with soft start, DC blocking, and 87200 μF of capacitance
- Speaker protection
The cost? Honestly, I do not know! This amplifier build started when I was at university, and since then it has had several rebuilds and improvements as I added features, solved problems, enhanced performance and combined into a smaller unit. If you were starting fresh though - it could well be possible to build this for around £300 to £600 or more - depending on where you source parts, what you have already, how many mistakes you make, and how much you care about quality! A fair bit of the cost also goes towards sponsoring your 'parts' bin, by doing larger purchases of resistors, capacitors etc, and of course various hook up wire! You may also need to buy tools too.
The Pre-Amplifier
Going back to 2005 was the creation of the pre-amplifier, in my third year of university. This was because part of this pre-amplifier would form my final year project, which was a first class awarded project with over 20,000 words of details and 100+ pages.
That was all about the computer science part of the pre-amplifier project, which was details about the design and implementation of both code running on the two embedded microchips in the preamp and the code running on a desktop PC so you can change the preamp volume, inputs and other settings from your PC desktop, by means of a Java application communicating over a serial port - pretty neat!
Since then, the design, code and performance have all improved, and I'm now on a 'version 3' of the preamp PCB design and it's quite different from the original.
I like a minimalistic analogue design with few digital circuits in the way, so the only digital section that touches the analogue signal is at the PGA2310 volume control chips. These are Texas Instruments Burr Brown chips and are of very high quality. Every other alteration to the signal is done through relays (for example input selection). High quality Takamisawa RY12W-K relays designed for switching small signals are used as the power relays I originally used became unreliable.
The original details are here if interested. On the next pages though is a republished version though based on my new design.
Power Amplifier
The final link in the system before the speakers is my power amplifier. This started build in 2004, and the only components remaining from then is the soft-start circuit, and 500VA Transformer. Originally a 7 system power amplifier (bi-amplified) with 4x P3A amps driving the stereo bass/mid and high, and 3x LM3886 amps for rears and centre. It was simplified in 2011 when I brought some Q Acoustics 2050 floorstanding speakers and it seemed too risky to dissemble the passive crossover.
It is now simply 5x LM3886 amplifiers, using circuit boards I purchased from Rod Elliott ESP. I felt bi-amplifying for just tweeters isn't worth it in my case. I live in a block of flats too, and the LM3886 on those floorstanders goes plenty loud enough! If you want more though, bi-amplifying with a crossover frequency of around 300Hz would really perform well, if you can find the right speakers (or build your own).
To ensure this power amplifier performs well, and is safe, it has been given ample heatsinking, a big power supply with plenty of capacitance, mains DC blocking, earth loop breaker and a speaker DC protector that should protect the speakers from faults.
More details on my original build can be seen here, but over the next pages is my full build.
Subwoofer
I built and used a subwoofer originally, but that is now redundant. The floorstanders and design of the rebuild gives lots of bass and a subwoofer would add nothing more. I have maintained a subwoofer output and control in case I want it in future, or if you want to use it and find this article helpful!
More details of my subwoofer I used to use can be found here
Control
Absolutely no buttons are on the front of the amplifier. It used to have them, but with a simple IR remote control, they were never used!
Instead, general controls such as volume up/down, power, mute and input selection are done with a simple universal remote control. The rest of the adjustments (as well as those mentioned) are controlled through an Android app which connects to the amplifier via Bluetooth.
Read on...
You can find more details of the design, on these pages: