
Hi-Fi LM3886 5.1 channel amplifier, with digital control - Summary and Pictures
1 - Intro, 2 - The design, 3 - Pre-amplifier, 4 - Power Amplifiers, 5 - Power Supply, 6 - Grounding, 7 - Control - Hardware, 8 - Control - Software, 9 - Android App, 10 - Summary
Summary and Pictures
On this page...
Summary
Building a great sounding, looking, reliable and convenient amplifier has been a delight, even though it has had challenges and evolved over many years. The project has peaked my interest in audio, electronics and programming.
If you've built a bit of electronics before, it's a fair jump to build a large and multi-channel power amplifier. It is, however, possible. I hope that information about my build will help in some way.
The rebuild was completed in summer 2018 and this write up was completed at the very end of 2018. Since taking a break for the holiday season, the amplifier (and TV) has been in constant use daily (like 8 hours a day!). During normal weeks, it is also switched on daily for at least 2-3 hours a day.
Over its use, the only fault has been a 100nF ceramic disc used in the preamp about a month after build. I've since replaced them all with 100nF multi-layer ceramics.
No other faults have been found and the PIC controller has never crashed.
Sound quality is also excellent. This is due to good performing designs and good quality components. The amplifier drives two Q-Acoustics 2050 floorstanding speakers, two Q-Acoustics 2010i used as rear speakers and a Q-Acoustics 2000ci centre speaker, and it drives them all very well, with plenty of volume and low end.
With an external 5.1 decoder added, TV and movies sound great, with clear sound and dialog. A stereo signal with internal uplift to centre and rear channels works great with the Chromecast Audio - which these days I use to play Radio and music. The internal phono preamp plus Project Debut III does a great job of making vinyl sound superb too.
I feel like the project is pretty much the finished product, but things may change over the years. The only main gap is a 5.1 decoder, which is hard to DIY itself and I'm using some Chinese product which does the job well enough for now.
A thanks to those who I've added reference links to at the bottom of each page prior to this. Without their kind write up of information, this would not have been possible.
Pictures
Below are some pictures of the overall build, showing the result and some of the process.
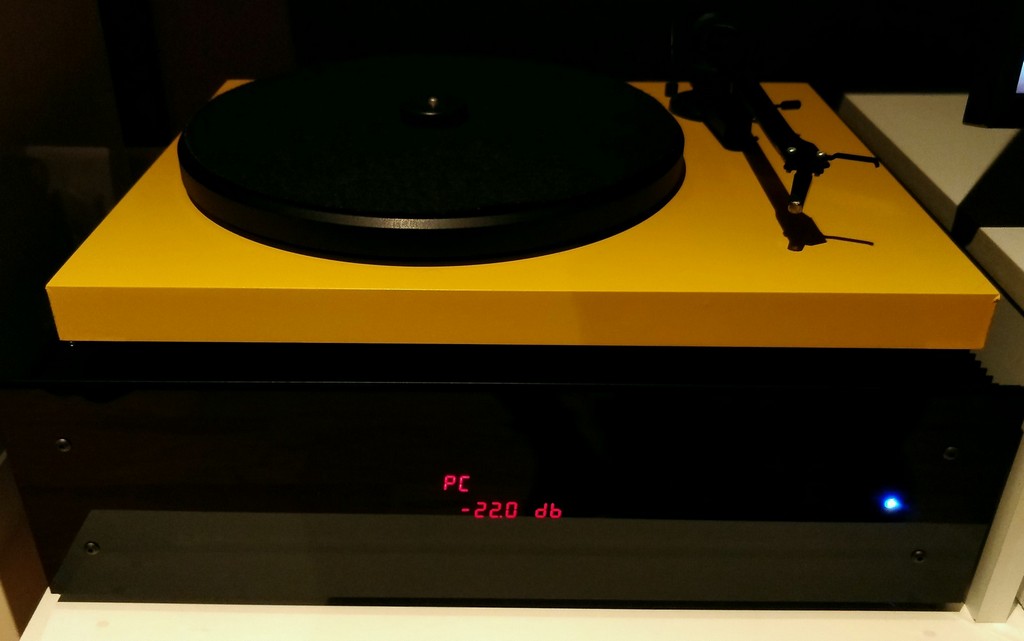
Amplifier in position with record player on top
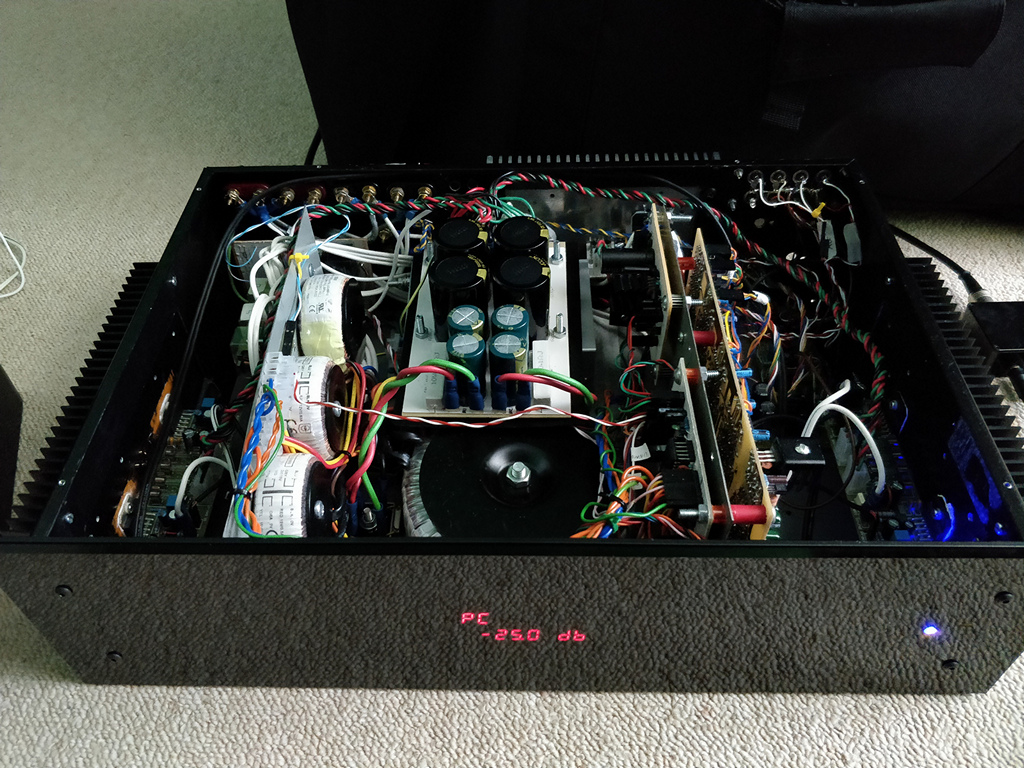
Amplifier under initial testing
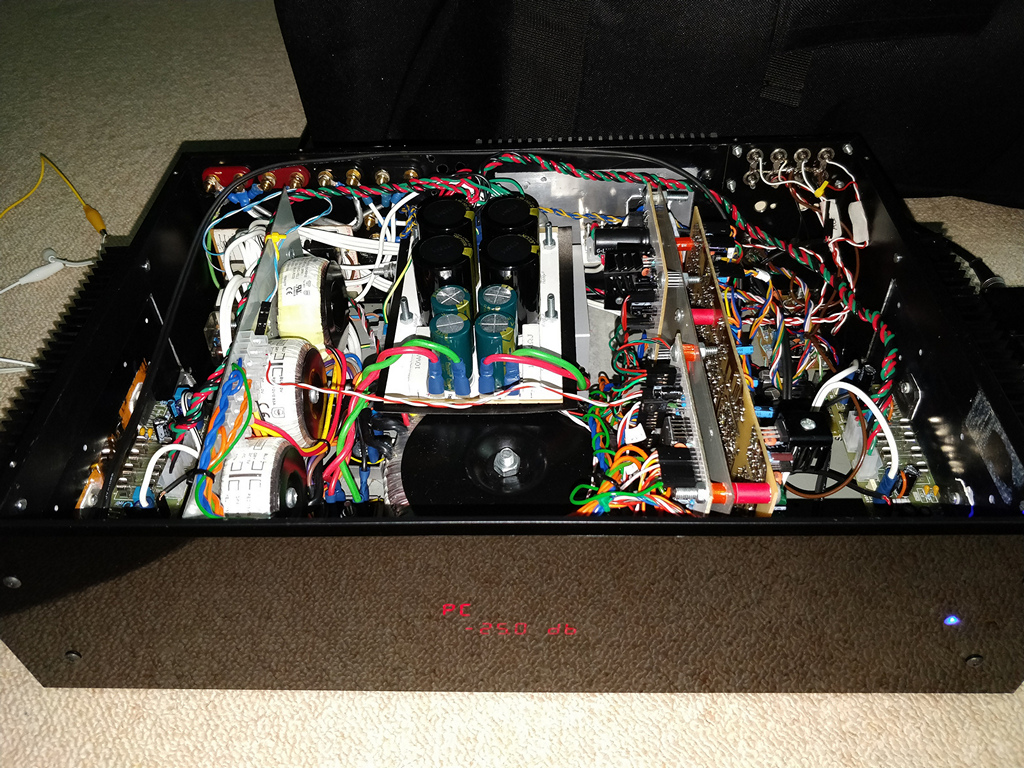
Amplifier under initial testing, alternate view
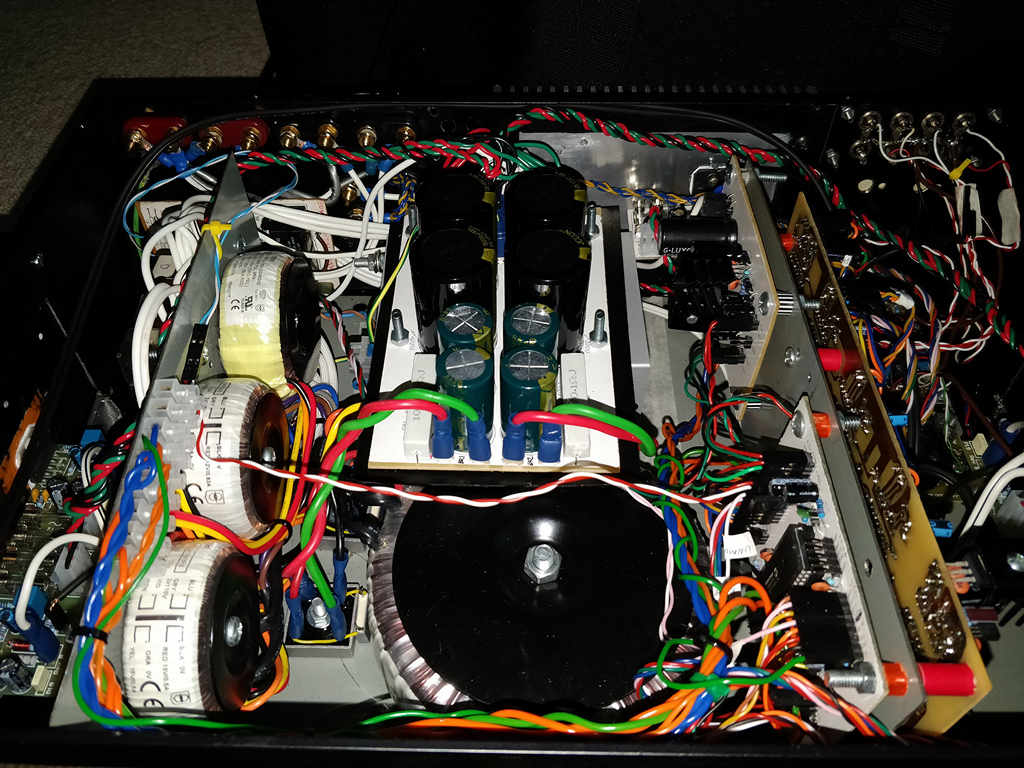
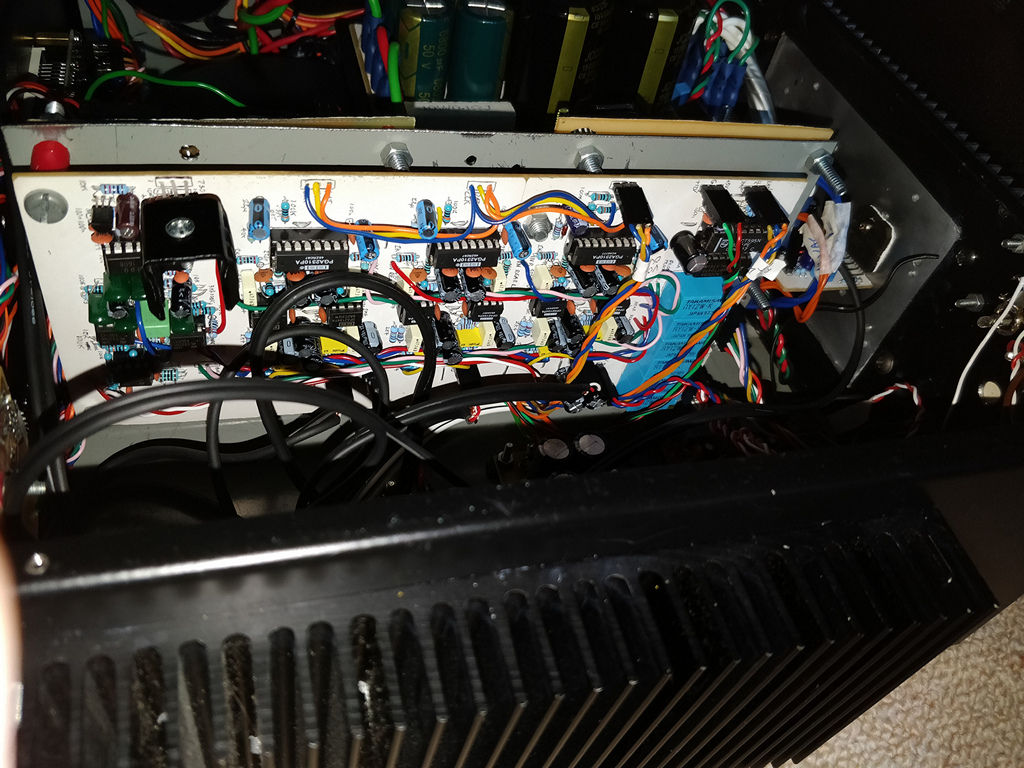
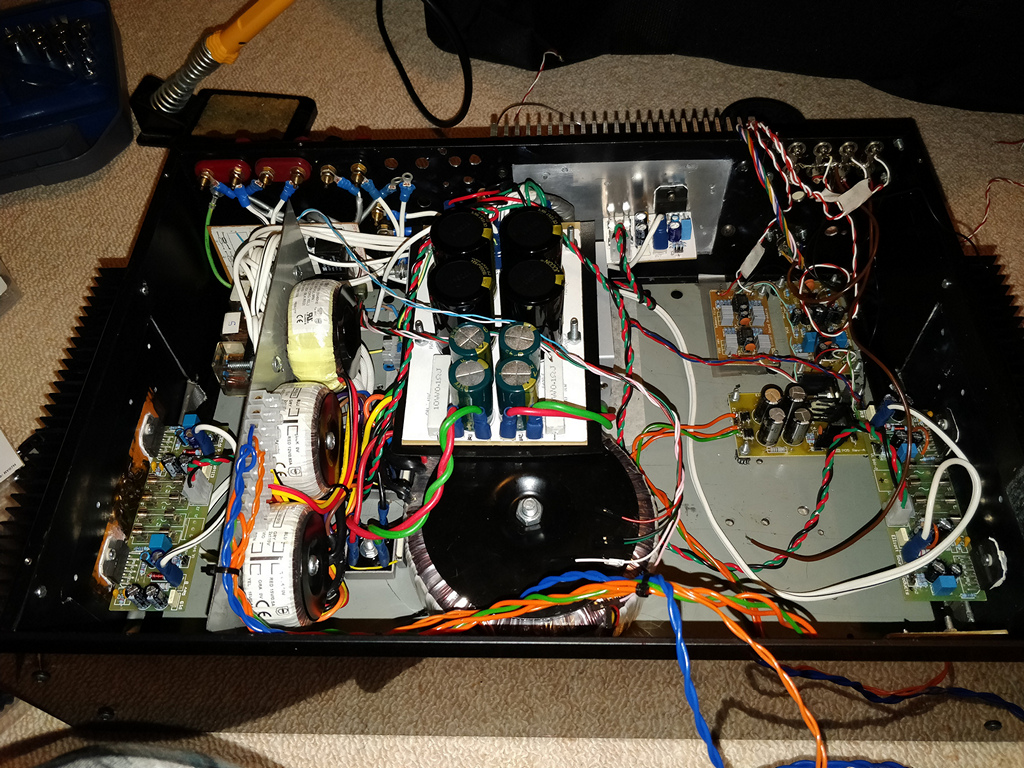
View of internals, from front
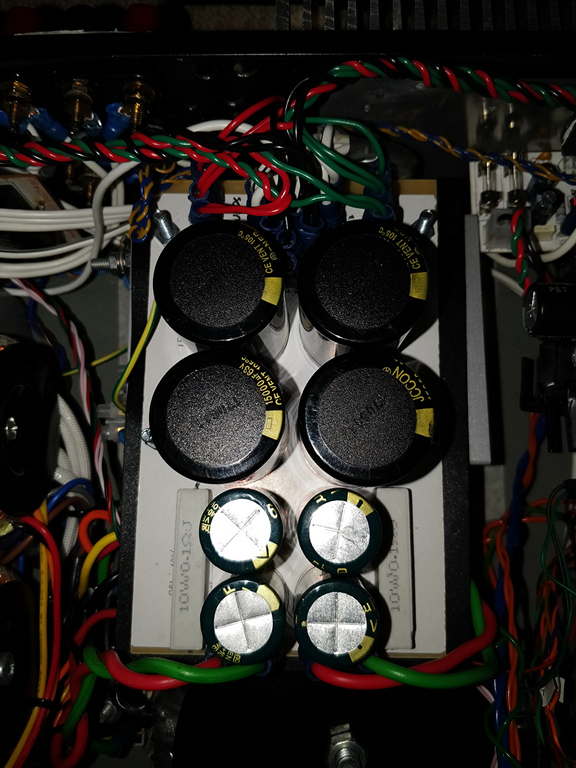
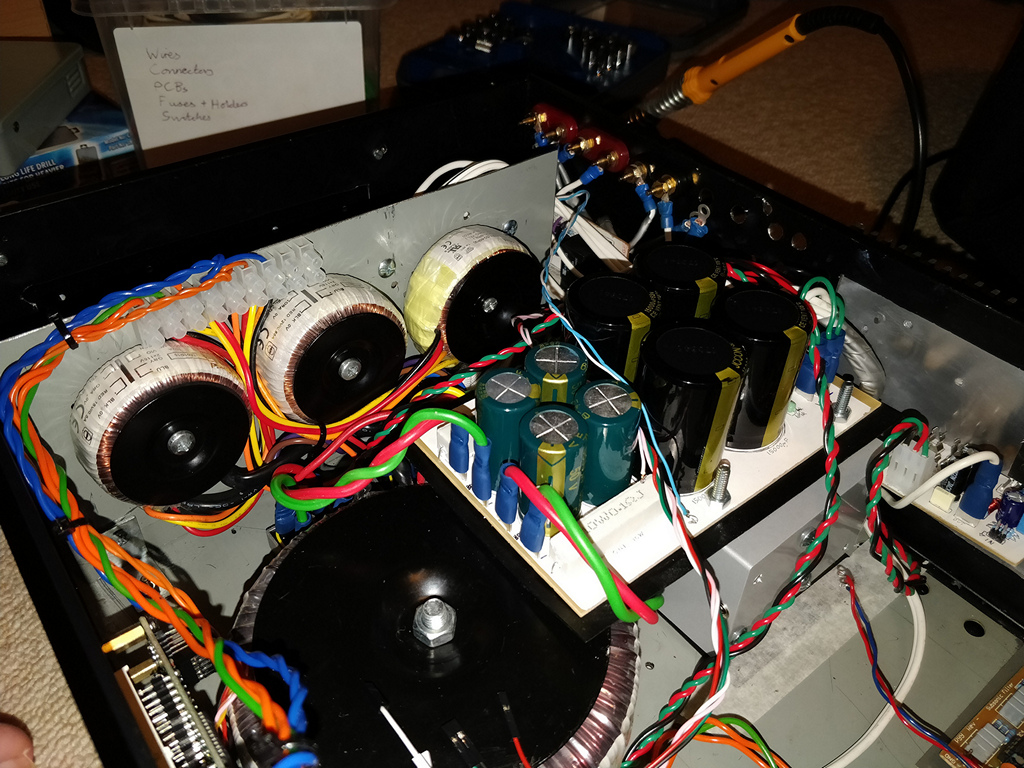
PSU top
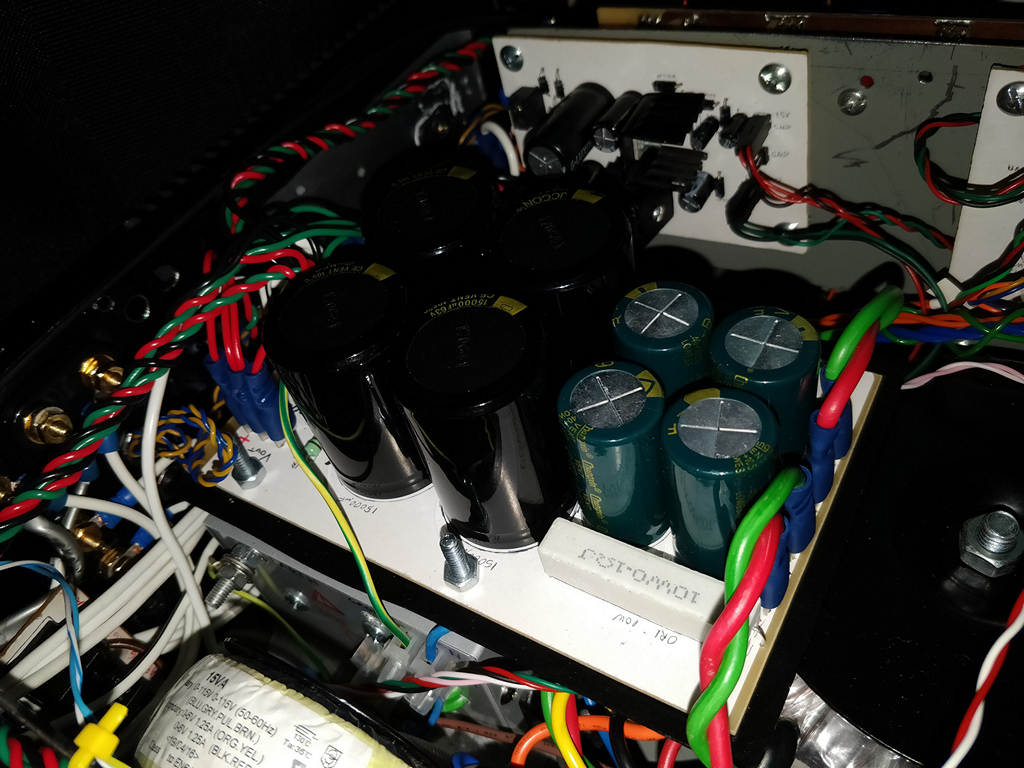
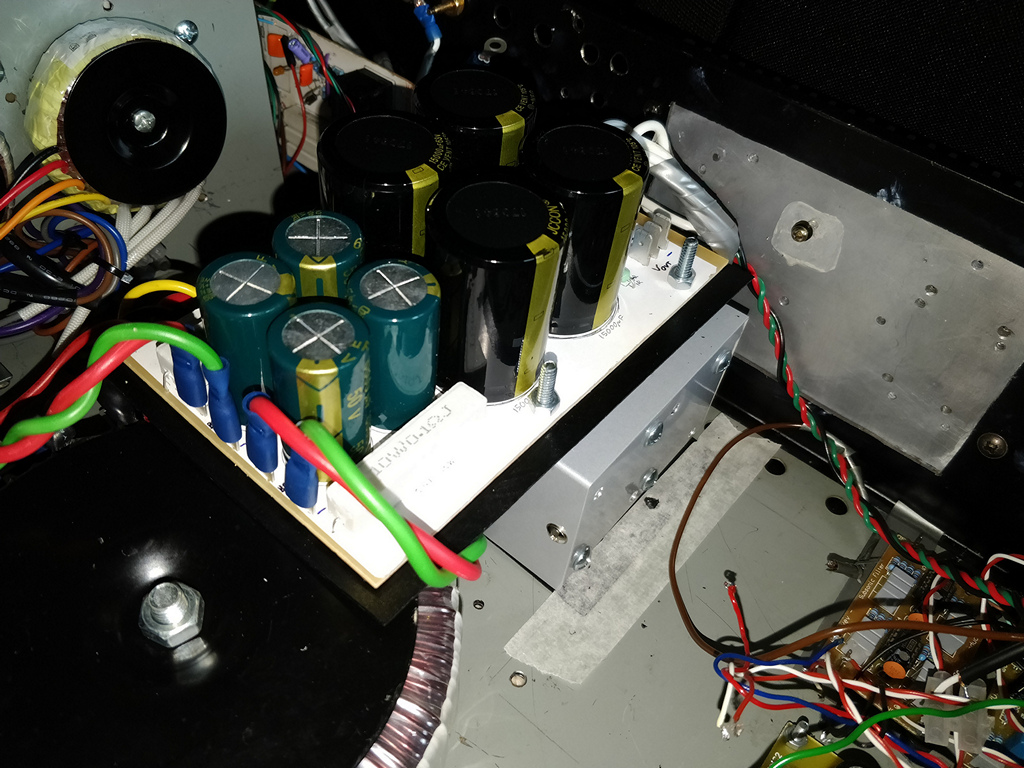
PSU side. Here you can see how it is mounted on top of the DC blocker box and the 500VA transformer (right)
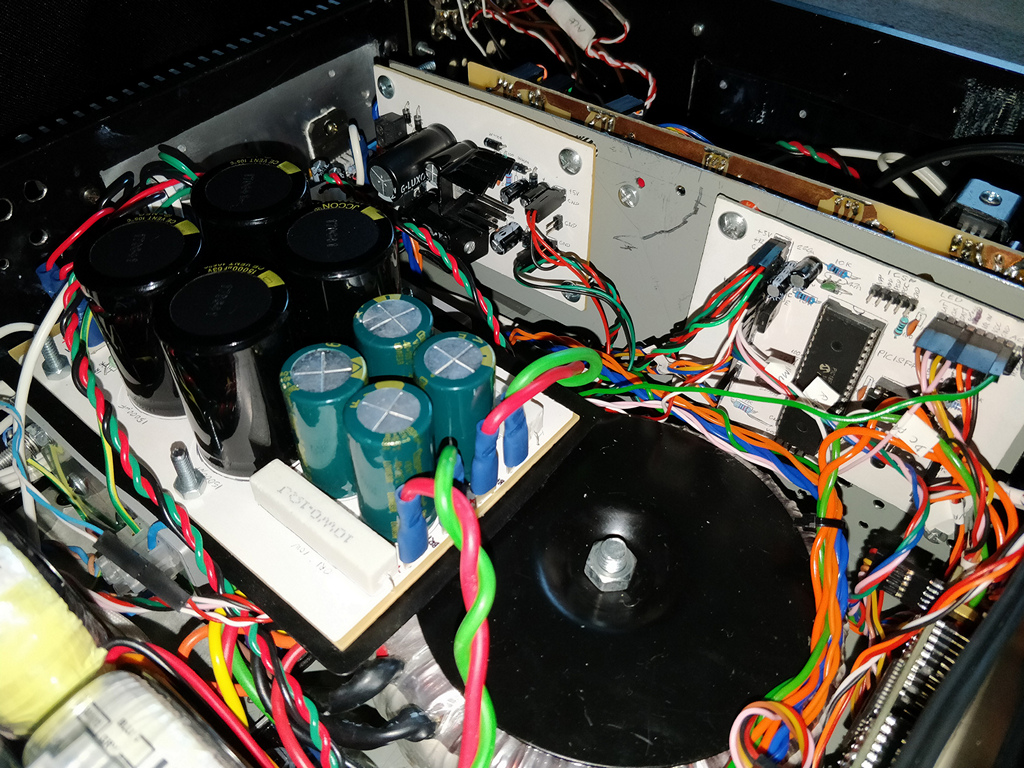
PSU side. Again, showing how it is mounted. Also visible is the PIC microprocessor board (right)
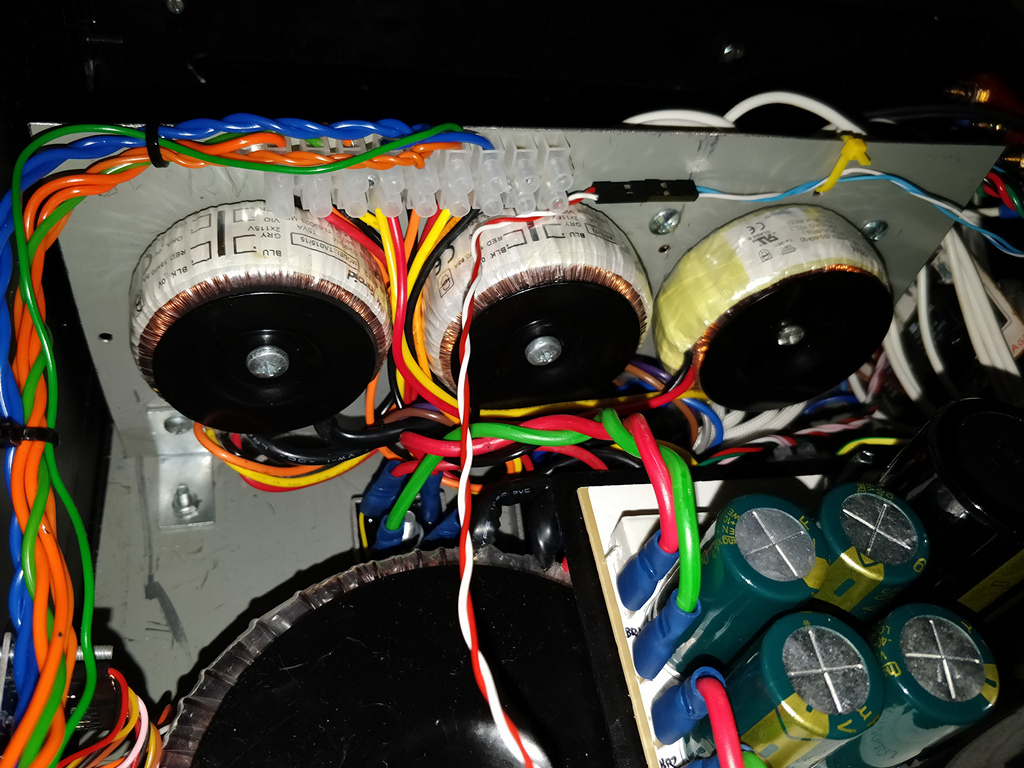
Small transformers (6V, 12V and 15V, all 15VA)
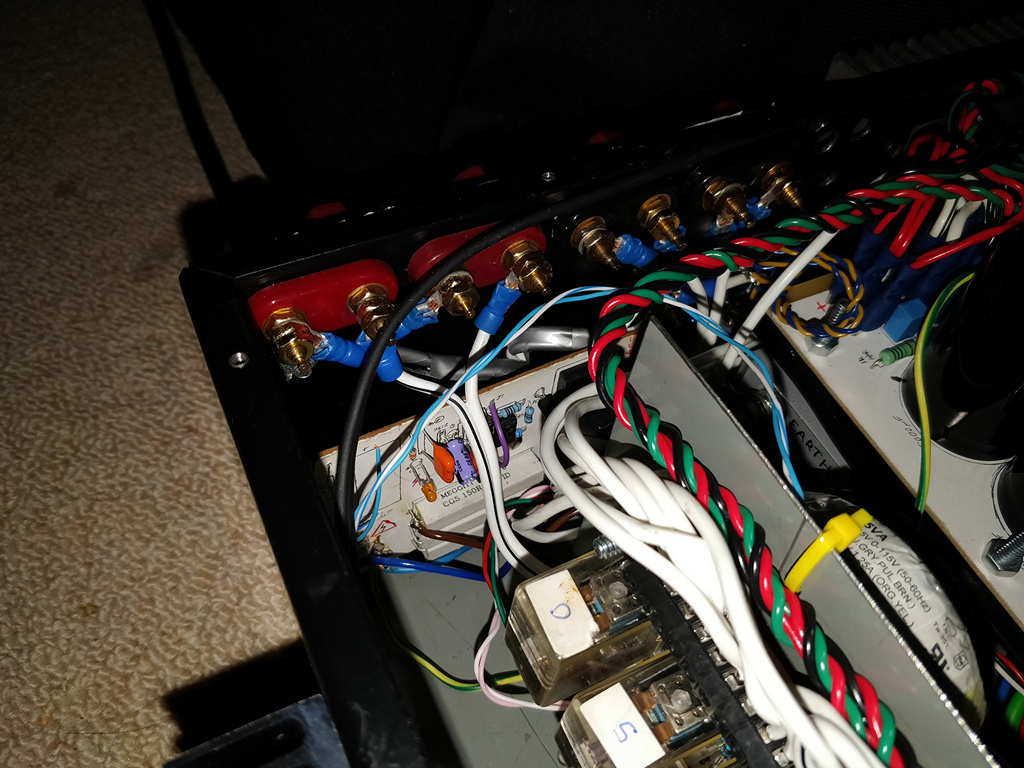
Soft start circuit (middle), speaker connectors, and speaker protection (bottom)
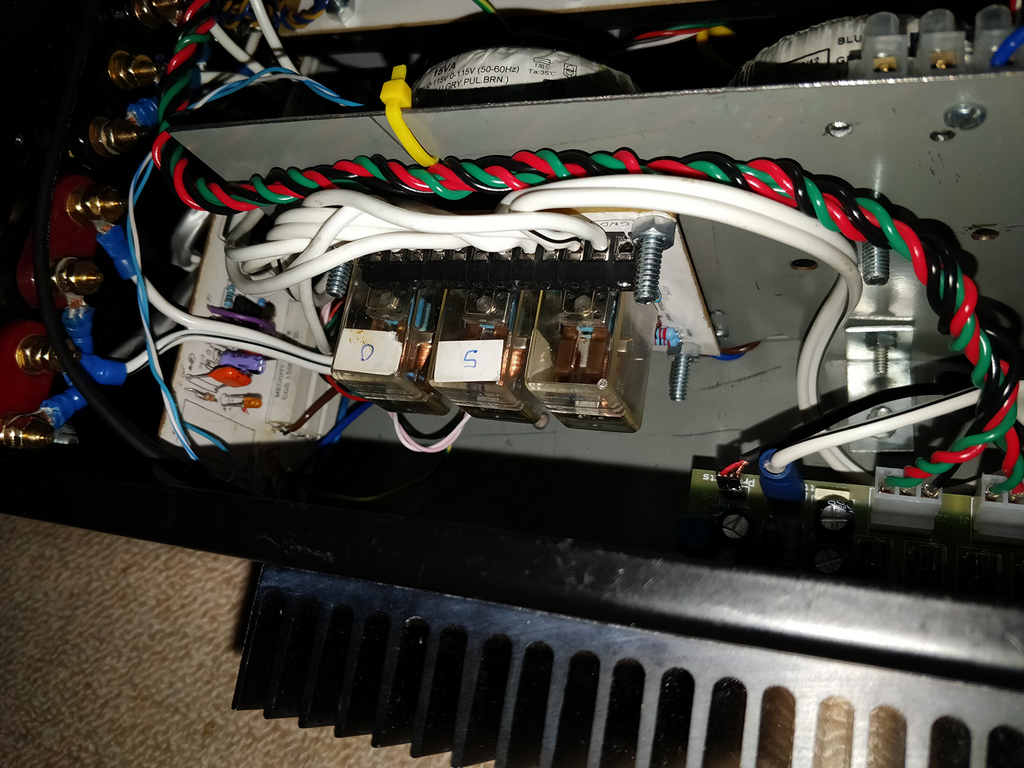
Speaker DC protection circuit
LM3886 amplifier board (attached to left heatsink, drives front left/right speakers)
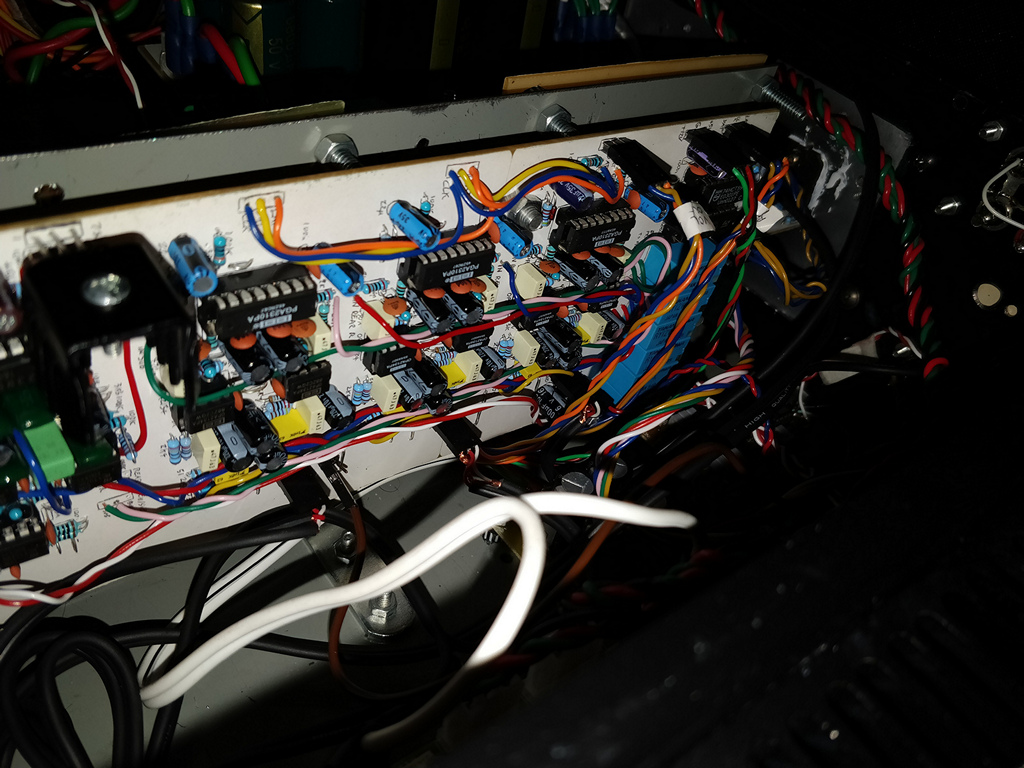
Preamp board
Preamp board, alternate view
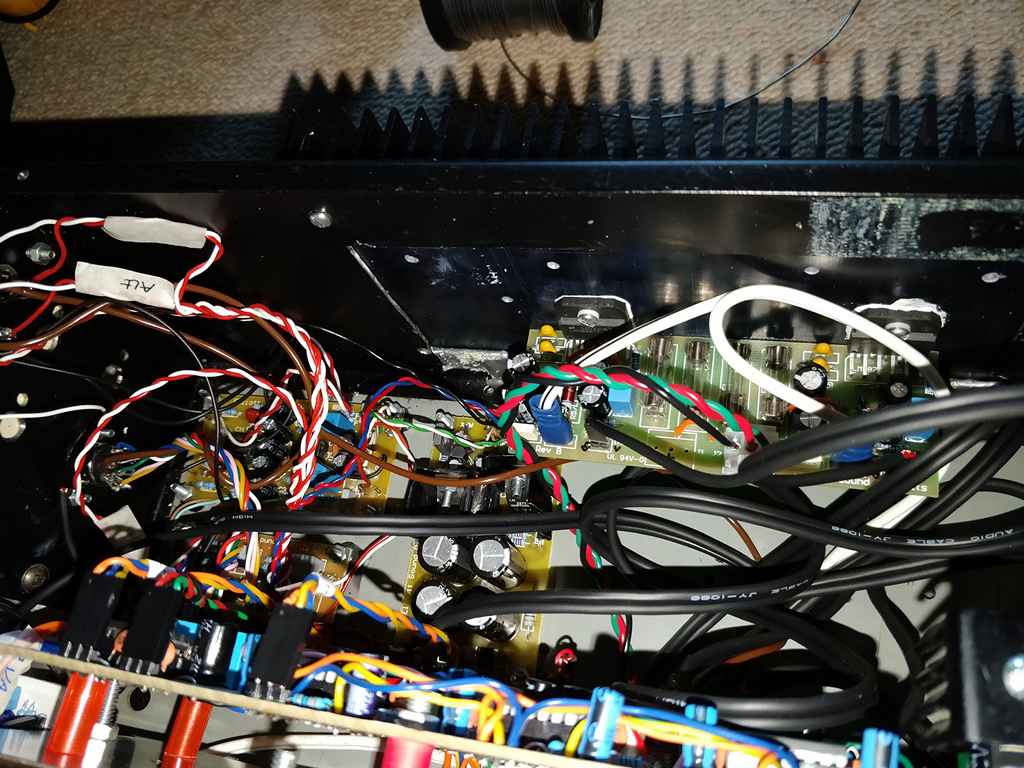
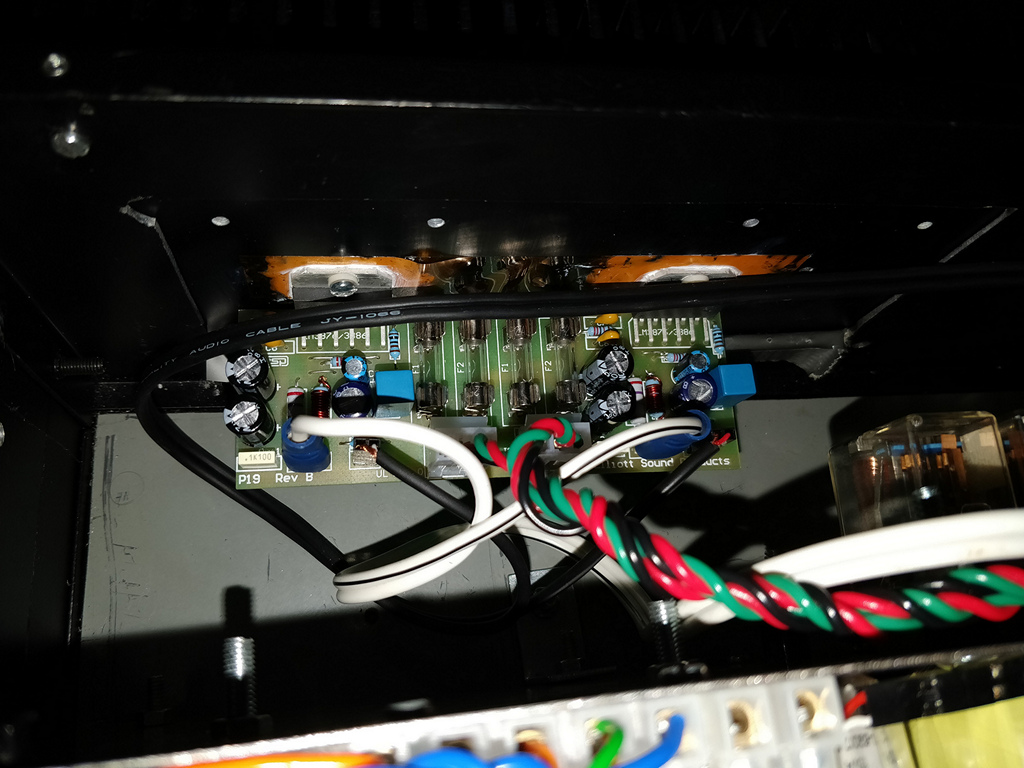
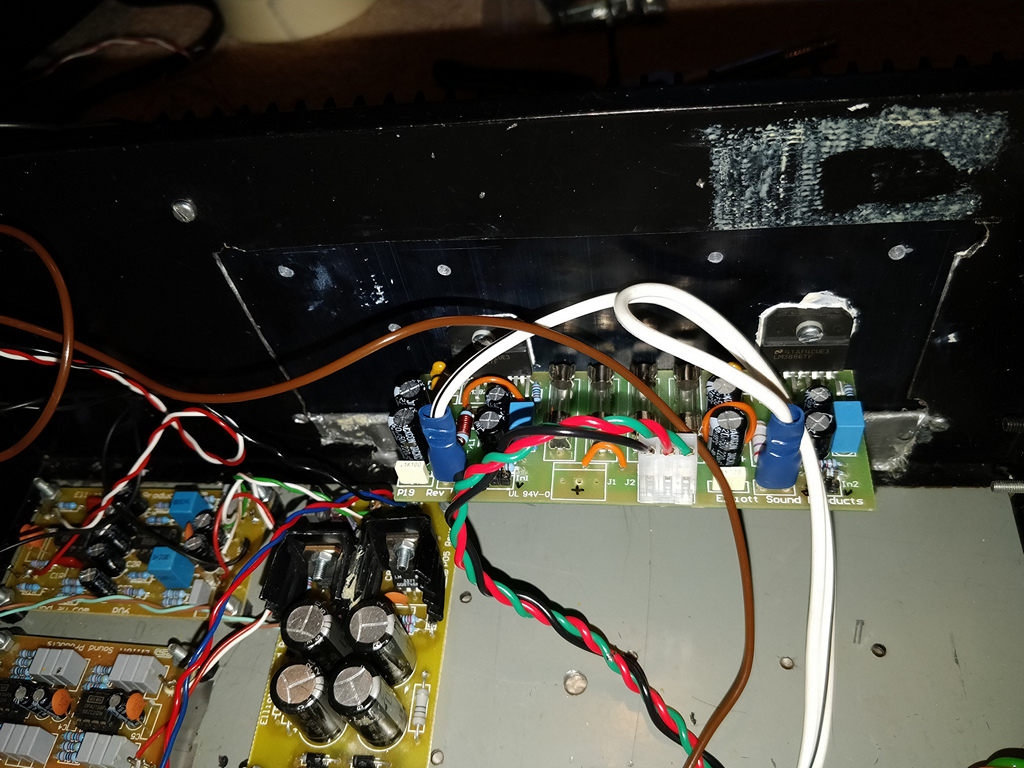
LM3886 amplifier (middle left, attached to right heatsink, drives rear left/right speakers), +/-15V PSU (middle), Phono preamp and rumble
filter (left)
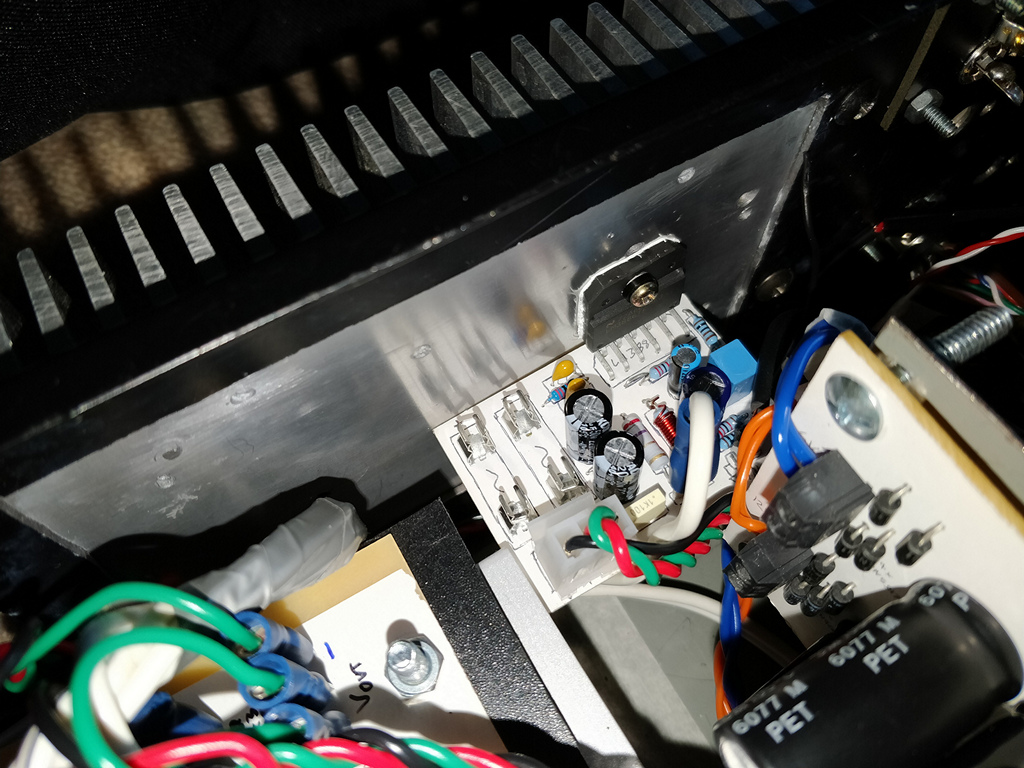
Centre LM3886 amplifier, attached to heatsink
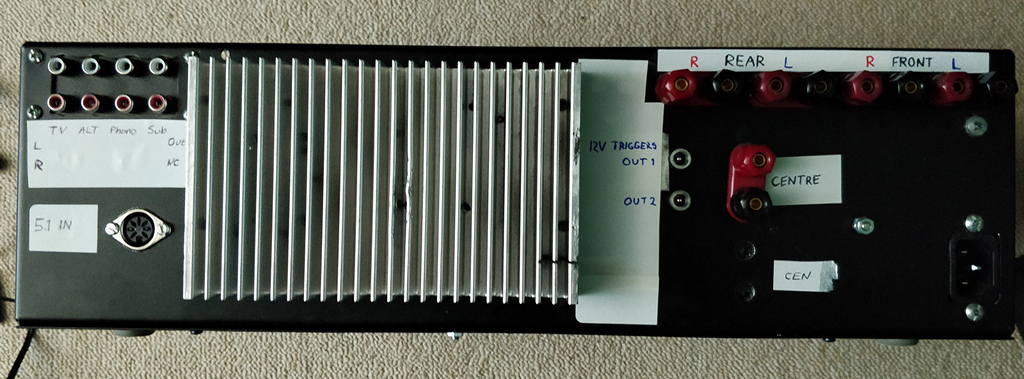
Rear of amplifier - phono inputs, 5.1 input, heatsink for centre amp, 12V trigger outputs, speaker terminals and mains 3 pin
input
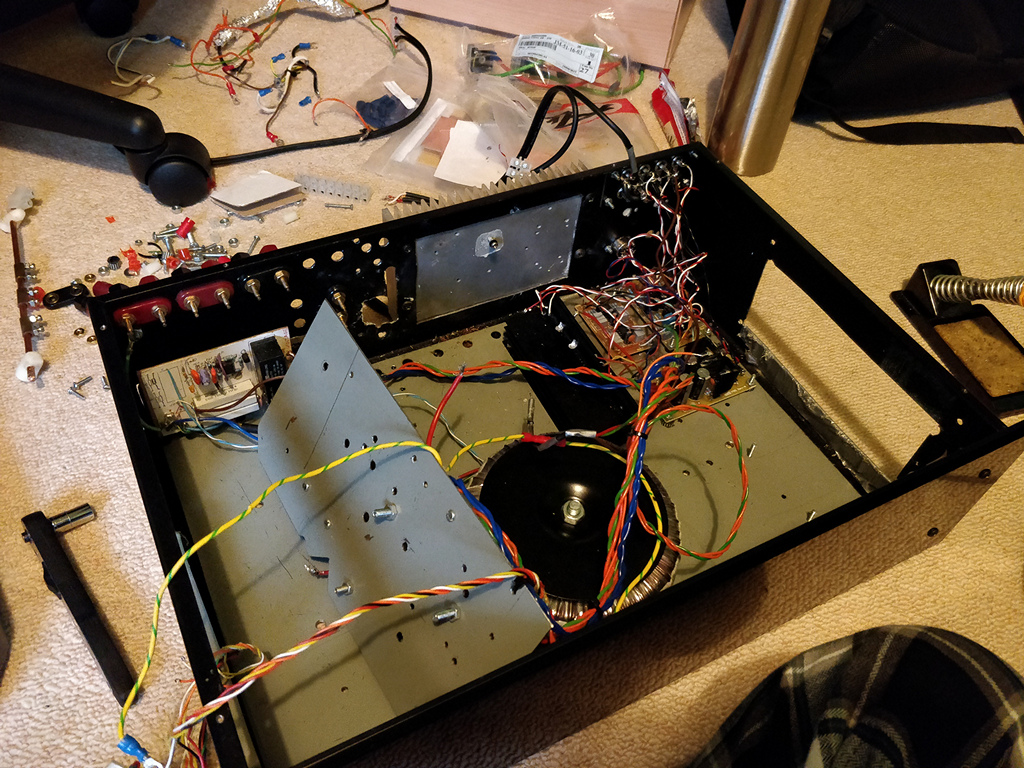
During rebuild - case stripped of almost all previous components
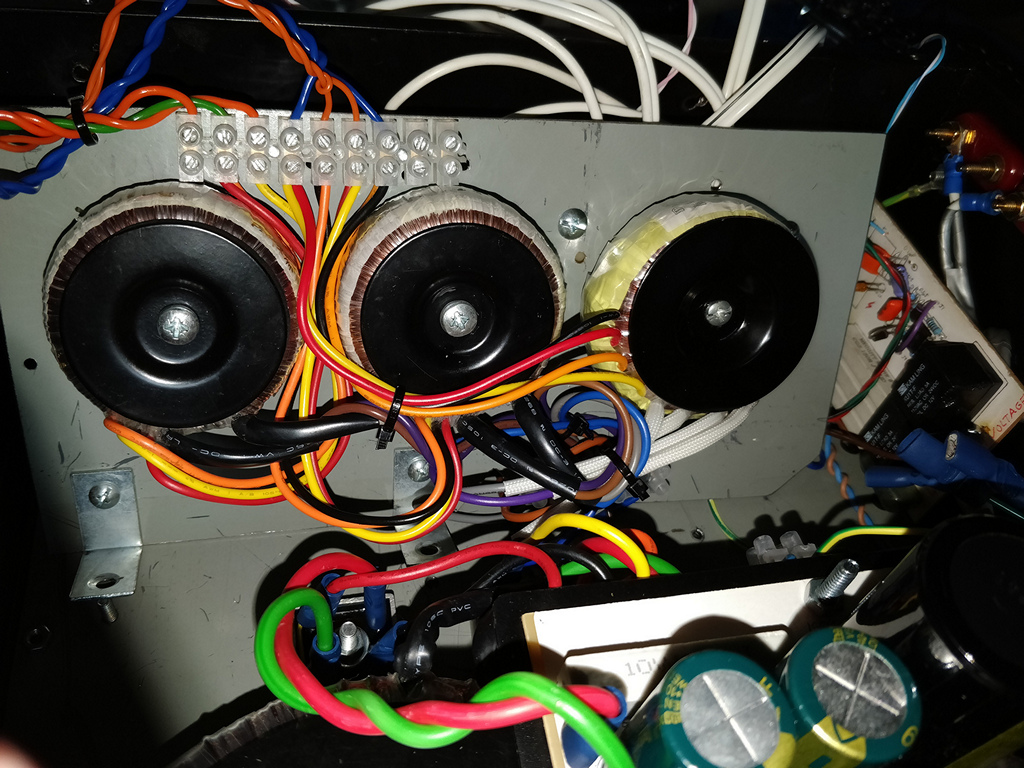
During rebuild - 6V, 12V and 15V AC 15VA transformers mounted
During rebuild - rectifiers for 25V transformer (+/-35V PSU). Also, mains connectors to DC blocker (top)
During rebuild - mounting the amplifier PSU (+/-35V) board, over the 500VA transformer and DC blocker
During rebuild - PSU and amplifiers complete (no preamp or PIC control wired in yet)
During rebuild - View of the rear amplifier (top middle), +/-15V ESP P05 PSU (bottom middle) and phono preamp and rumble filter ESP P06 and
P99 (left)
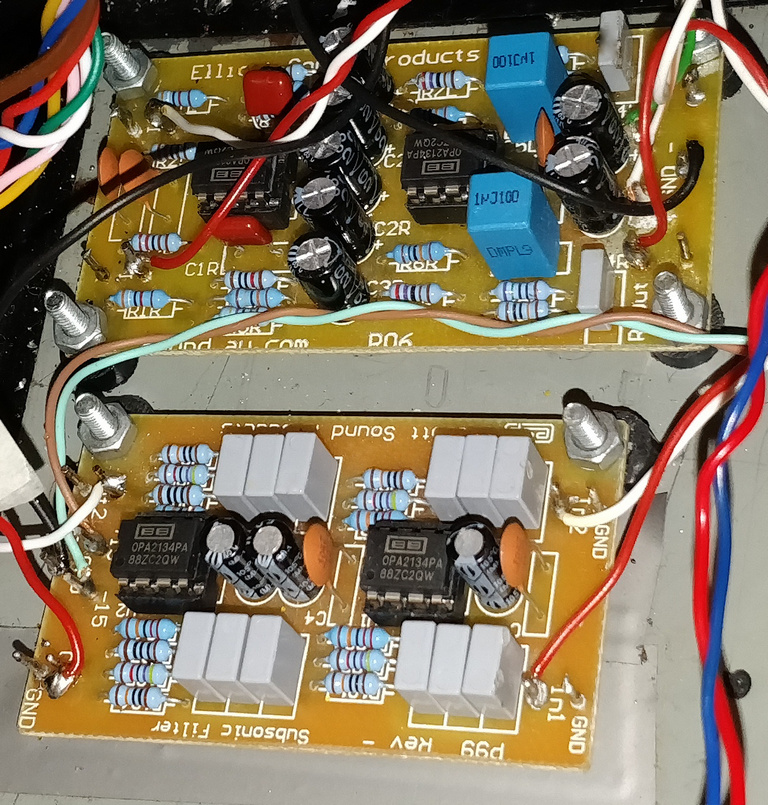
During rebuild - Closer view of phono preamp and rumble filter ESP P06 and P99 (left)
- Index
- The Design
- Pre-amplifier
- Power Amplifier
- Power Supply
- Grounding
- Control - Hardware
- Control - Software
- Android App
- Summary and Pictures