
Blow hole fan mod... and the repaint
Part 2 - Spraying
This is quite a long section with quite a few images so give it a few minutes to load!
Well, I got serious about what I wanted to do and actually went out and brought the paints.
The price - well its not cheap. I brought from a local car paint shop near my area and they are very helpful people. However due to the speciality of car spray paint... the result is quite a high price.
The first trip set me back about £28. This included a 400ml plastic primer (for the front), a 400ml can of blue metallic paint and a larger (500ml?) can of trade spray clear gloss laqueer.
Prep
Important stage and I nearly forgot to mention it when writing this! Never forget to properly prepare your surface. I spent hours and went through 4 sheets of P1200 sandpaper making that case as smooth as possible. I then used white sprit to clean the surface and wiped it over with kitchen roll (very gently). I had quite a few stratches on the case and after rubbing down they still looked like they were there, sticking out from the rest of the surface - but rubbing your figure over them and it was as if they weren't there at all. This is important for the whole of the case.
On the front of the case - I also did not want to paint the very front blue - where the buttons and LEDs are. Mum carefully masked this area off for me so that it would not be sprayed in any circumstance. She did a good job.
Best case is a day for surface preparation and a day for spraying - but I used up 4 days.
Primer
Car paint was designed for use on metal and I was told if I intend to spray plastic I must get a primer. So I did, and would recommend anyone else to. If you choose not to, the paint will just flake off otherwise - not the best of ideas!
My test part refers to the first thing I always sprayed. This would be the little USB flap at the front of my case that hides the USB and audio ports. I always done the first coats of primer/paint/lacquer on the back of this too
I layed out some scrap plastic and wood in the garage and done all my spraying in there. This was not ideal as it isn't a particularly dust free area... but the next few weeks were forcasted to be windy and rainy - and I have no patience when it comes to waiting for good English weather!!
When I was ready to spray, I made a thing about shaking the can 3 minutes before starting to spray. This is important - don't forget to do it, even if it does make your arms a little tired after about a minute (watch time slow to a drag when your shaking a can!).
The primer came out a kind of grey colour, and at first I was putting too much on the test part so it looked like it reacted with the surface and I was getting a bit worried. But after removing it with white sprit and trying again with less spraying of the primer, it looked better. It still looked a little bit bad - but feeling the surface confirmed that it was actually very smooth.
I moved on to prime the front of the case, spraying evenly in a sideways motion. I did this for several (3-4) coats and also doen another two on the usb flap. Then I left them overnight to dry as it was getting far too late in the day and the good old cursed Wimbledon English rain was coming down outside.
Bl00000!!!
It was my mum's birthday so after helping her with early morning housework (!) I then decided to spray the colour on.
The first few coats I done were not very even - I am still a newbie when it came to spraying - but it didn't matter too much.
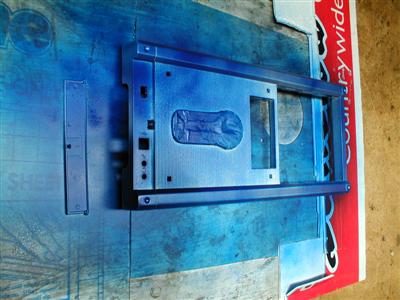
A picture of the first coat on the front
As I added more coats, the result was much better and far more even.

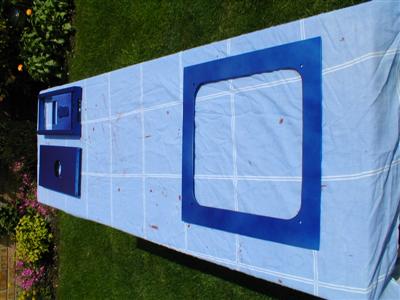
The front after two coats
I then moved on to do the top. This was a little bit easier as it is just one flat surface. Being metal too, it did not need any primer (I did all the priming the day before anyway).
First coat of the top
After a few coats I decided to multitask a bit and moved on to the sides while other parts of the case were drying.
First coat on the right side panel of the case
And after 3 coats
Being a nicer day, I decided to set up a table outside to do some spraying there - but the wind speed up quickly and I decided it was best to remain in the garage. I left the pieces on the table to dry however. These paints dry really fast however anyway so there was plenty of time for it to dry properly outside. The can stated a minimum of 5 minutes between coats and a maximum of 30.
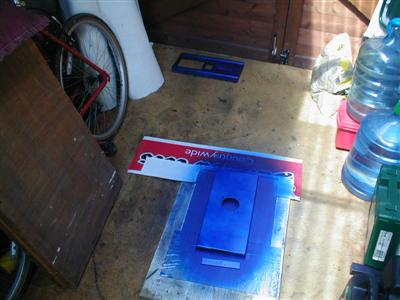
About 2 coats on the left side panel of the case - taken on the table I set up for drying.
After a while the can ran out. It was so near complete too - but I did need another one as there were areas that required more attension (i.e. I had missed them).
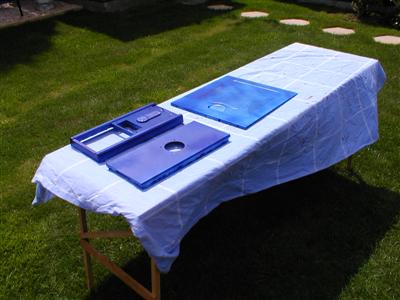
But here are a few pictures of the case parts laid out on the table. It got cloudy after these pictures so they had to be moved back in the garage - and sure enough it did rain whilst mum ran me down to the shop to get more paint.
This was earlier actually, when the side only had one coat

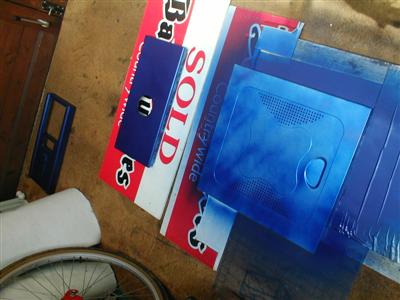
Completed as far as the first can would allow me

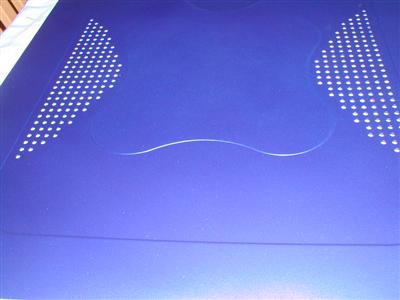
Proper job on the side
Close up of front - you can pick out the masked area easily
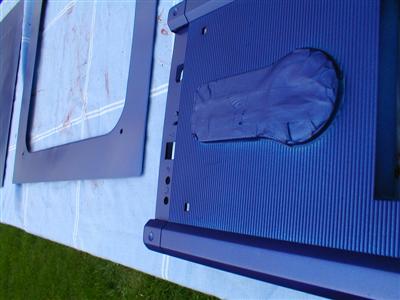
After I had popped out in the pouring rain, I got the second can and finish the job. Here is a close up of the surface of the right panel.
Lookin' good
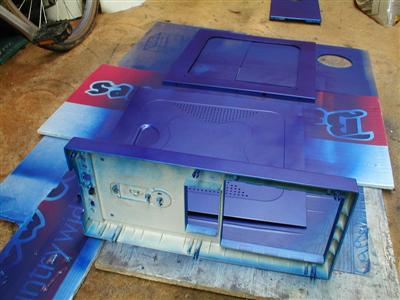
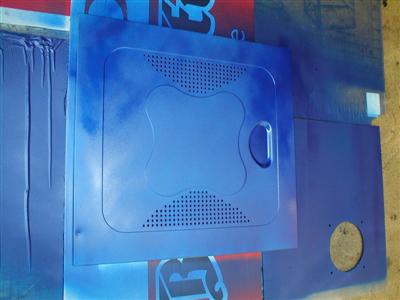
And here is added the final coat to the front
The day went quick and soon I was off for a evening out with the family for my mum's birthday.
The third part tells you more about the lacquer and has pictures of the final result.