
Blow hole fan mod... and the repaint
Part 1 - Adding a blow hole fan to the top
It is quite common now to see people having so called blow holes at the top of their cases, after all, it is an effective way of removing heat.
Why might you ask - well its simple - heat rises and it is quite likely that a fair amount of heat will be trapped at the top of the case with no escape other than perhaps a few ventilation holes.
It also looks pretty neat ;-)
Initial preparation
The intial job is the marking. To keep things simple I measured the half way point between the two sides and marked this area lightly. Then I needed to find the half way point between the DVD drive and the PSU. This was done by eye. I measured the diameter of the ideal hole size for the fan, divided it by 2 to get the radius and used a compass at this radius to draw the circle required. Once I had done this lightly in pencil, I went over it in pen (a CD-RW pen no less) so the marking would show up well and not wear off during the cutting process.
To get the screw holes I did do some measuring, but the holes were not perfect so I felt I would do better cheating and just placing the fan guard in place carefully and marking out the holes like that
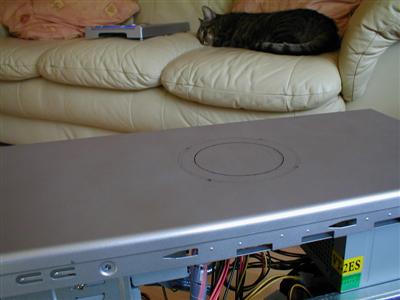
Marking the hole, with the cat happily sleeping in the background
Drilling
The first thing I did after the marking was to drill the holes, well, actually the first thing was to use a centre punch to mark the holes properly - otherwise the drill bit will slide all over the place with a shiny surface like that one.
I used a 5.5mm metal drill bit for the task, but the only problem with this was as the hole was made, it was more a rounded triangle then a circle. After letting the bit spin a bit after the hole was made however made it look more circle like and the size turned out well enough to provide strength but also give room to allow for any small errors in hole positioning.
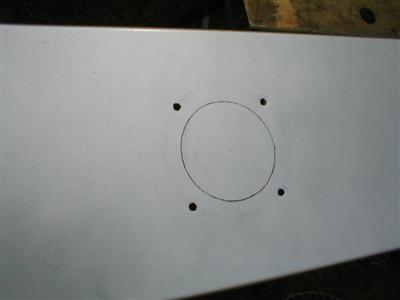
A closer look at the marking and the screw holes made
Cutting and sanding
I did my window with the jigsaw about a year ago, and whilst effective, I did not protect the surface enough and it was damaged. Not having the jigsaw now also meant I had to find another way.
The best idea was to use a Dremmel (or as people know them). Ok, what I have wasn't a dremel as such, it is a mains powered rotary tool from B&Q that has the motor connected to the chuck by a long flexible spring. It basically takes the same type of bits as a Dremmel though.
I used small cutting disks to make the hole - two of them in fact. When cutting metal they do wear down very fast. You have to be VERY careful too. I slipped a little which resulted in a small cut outwards from the circle - doh. You can see it on the left of the image below. The result after lots of patience is a rough, but very circle looking cut. Its the first time I have made cuts this way, and it isn't very difficult, you just have to be a bit more careful then me :-P
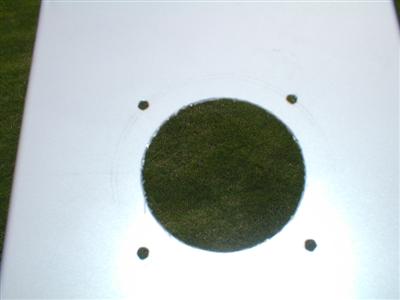
The rough cut
So this isn't good enough as it is though - it looks very sharp (and in fact is). I had the rotary tool out so I used its other various bits to do some sanding. There is a thick sanding bit on mine that was great for sanding down those rough edges. Again you do have to be very careful as it likes to travel. Also do it from the inside of the case as this means any slips mean they won't show up on the top of the case.
Go round the circle at 90 degrees to the case top first, then go at 45 degrees and then down sideways to something like 10 degrees as you go round - this will give a nice rounded effect - it must be carefully done and feel gently with yours fingers to see if the edge is smooth enough.
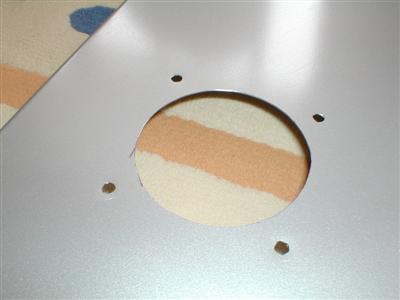
The cut - now all sanded smooth
Results
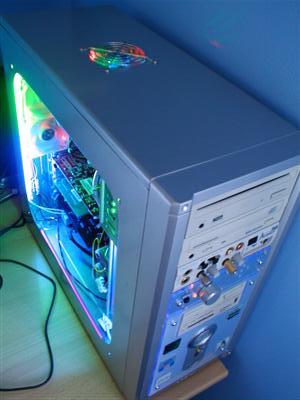
Not due to spray the case til the next day - I put it all back together and tested the new fan in its place.
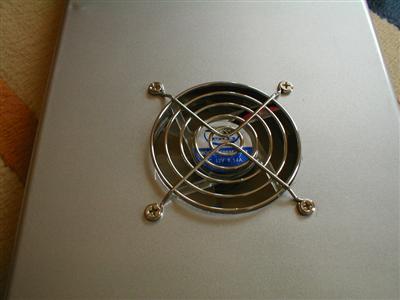
Fan mounted in its blow hole
How it looked altogether
The only annoying thing about fans in a position like this is that they are noisy - I shall be implementing a 7V mod to make it a bit queiter!
It does look good... but wait til I start spraying the case a different colour!
Gutting it
I thought I may need to remove everything from my poor PC - but every part that needed to be painted came off easily with a few removed screws or a bit of tab squeezing and force for the plastic front.
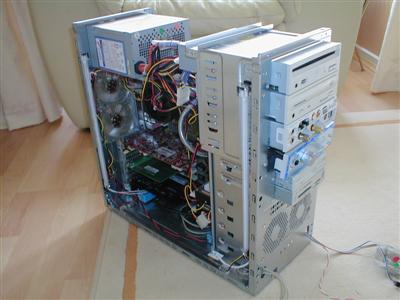
Stripped PC
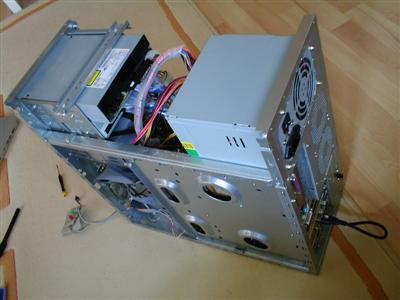
And again