
Home-made PC Router and NAS Server [Page 2] - Install Ubuntu Server 20.04
The build - Installation Ubuntu Server 20.04
Before you start, plug the PC into a monitor, keyboard and mouse.
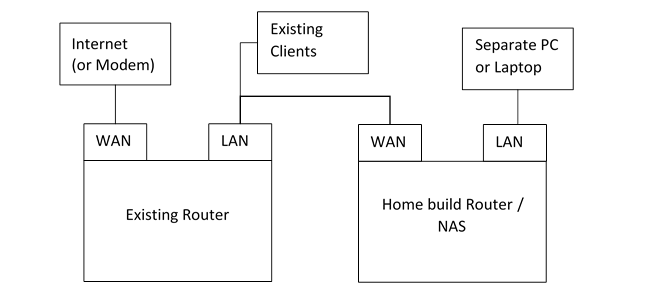
We're do most of the build connected to our existing router and network, so we can test things and keep our existing Internet during the build.
Plug the network socket that you intend to use as your WAN connection, into your existing router / LAN. Into the port intended for use as the LAN, we can plug a cable directly into another PC or laptop for testing.
This assumes Ubuntu LTS 20.04 Server version. Ubuntu Server is available to download at https://www.ubuntu.com/download/server.
My previous guide for Ubuntu Server 18.04 is available here.
Download the ISO and write it to a DVD or USB drive (made bootable by LinuxLive USB Creator, or Rufus).
Do the install. I have captured the install by simulating it in a Virtual Machine for your convenience. It's very easy, and I'm not really customising the install at all from the defaults.
Install steps
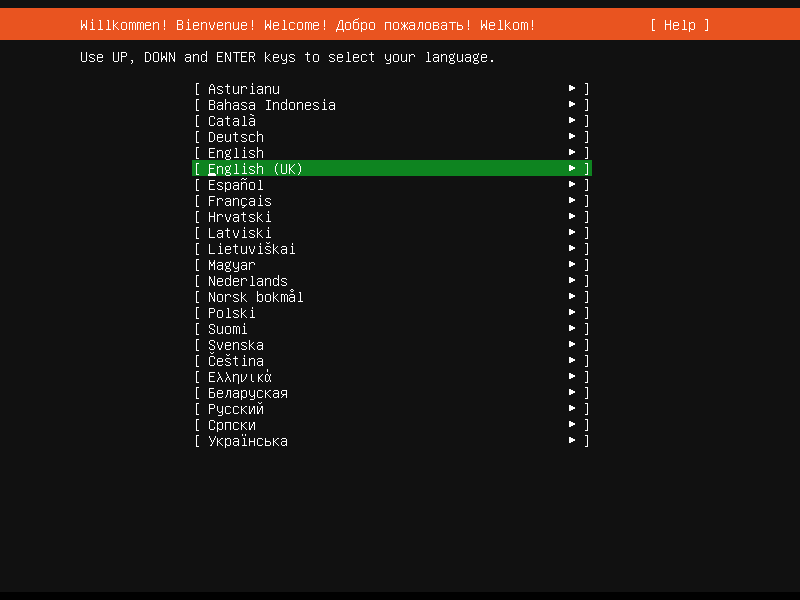
Step 1: Choose a language:
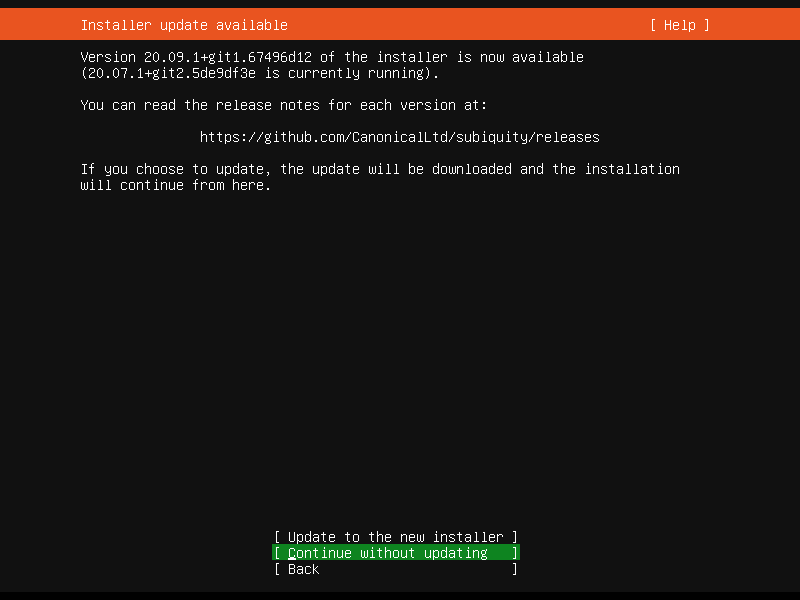
Step 2: Choose continue without updating for now
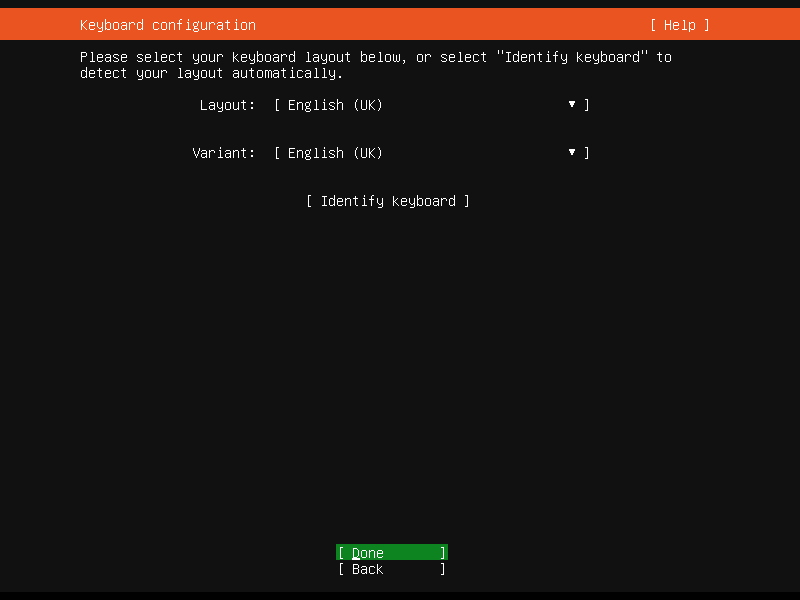
Step 3: Choose a keyboard layout
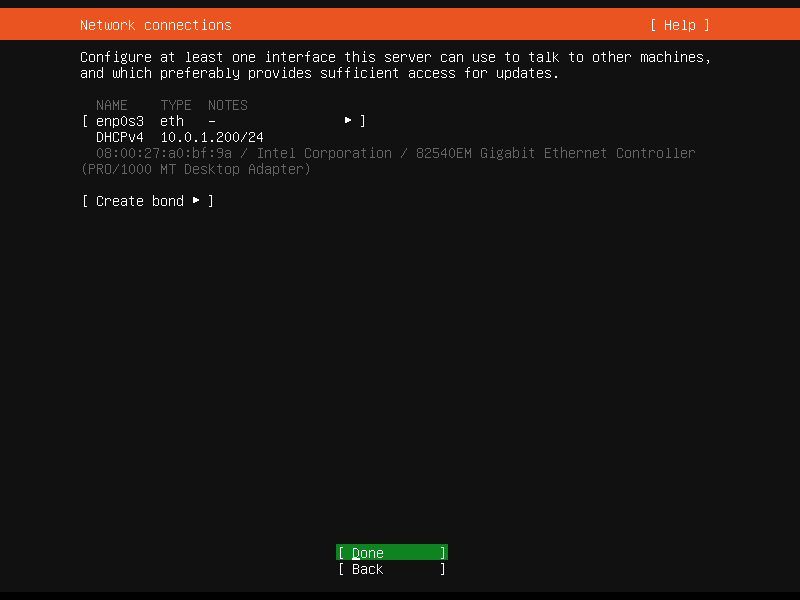
Network: At this stage we'll keep the network setup really simple and just let the installer auto-detect the connection. The one interface you connected to your existing LAN should automatically get an IP assigned by your existing router.
Step 4: Let the Network Connections step detect your LAN via DHCP
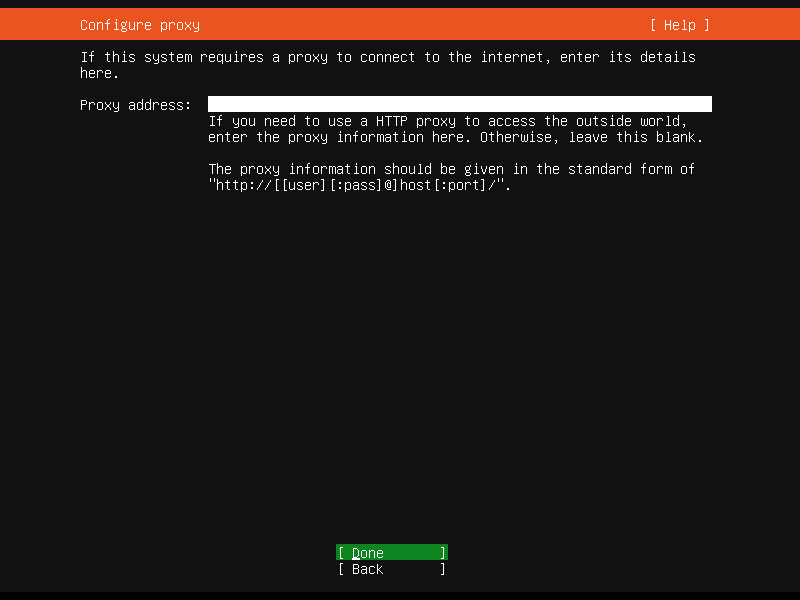
Step 5: Enter proxy information if needed - usually not needed for a home network:
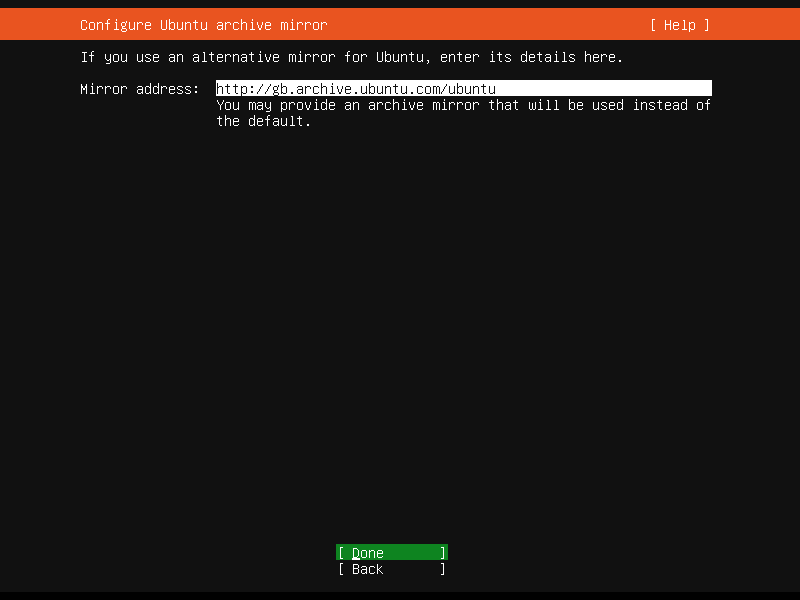
Step 6: Enter an alternative mirror for Ubuntu updates if needed - usually not for a home network. If at a company or University, they may have their own
mirror:
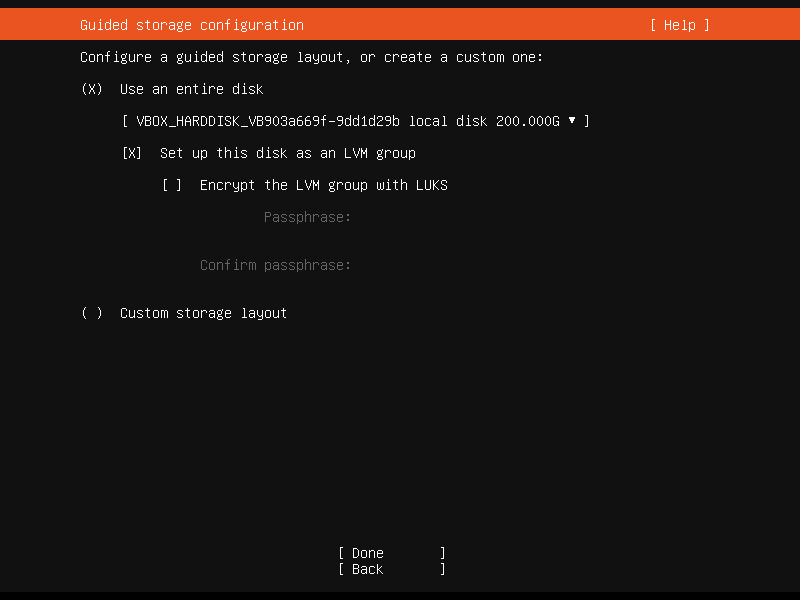
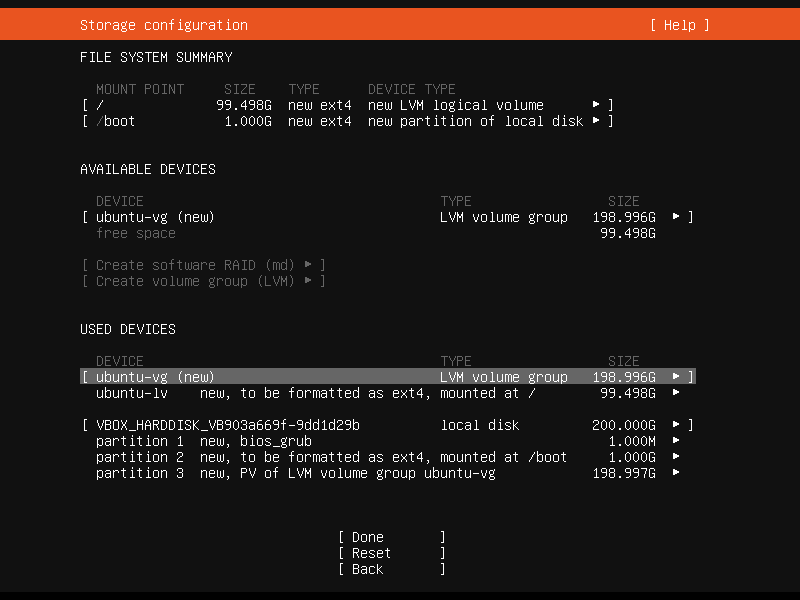
Disk filesystem setup: Pick the correct disk that you want to install on. I choose to set up the disk using LVM. LVM gives me the flexibility to carve and extend the logical volumes as I please. For your host router - I recommended NOT to select LUKS, otherwise every time you reboot, you'll need a keyboard and monitor connected to enter the password.
Step 7: Choose Set up this disk as an LVM group:
This next page is a bit confusing - but basically you can accept the defaults. Ubuntu will by default create a 100GB logical volume for the root mount (/) and assign a physical volume and logical volume over the entire disk you choose to install on. 100GB should be plenty for your root file system.
You'll spot too that it will create a separate 1GB partition for /boot. This is where kernel versions are installed, and to allow for several updates I recommend increasing that to 2GB.
Users familiar with Linux may spot that no swap partition is created. Ubuntu server will create a 4GB or 8GB swap.img file in the root filesystem.
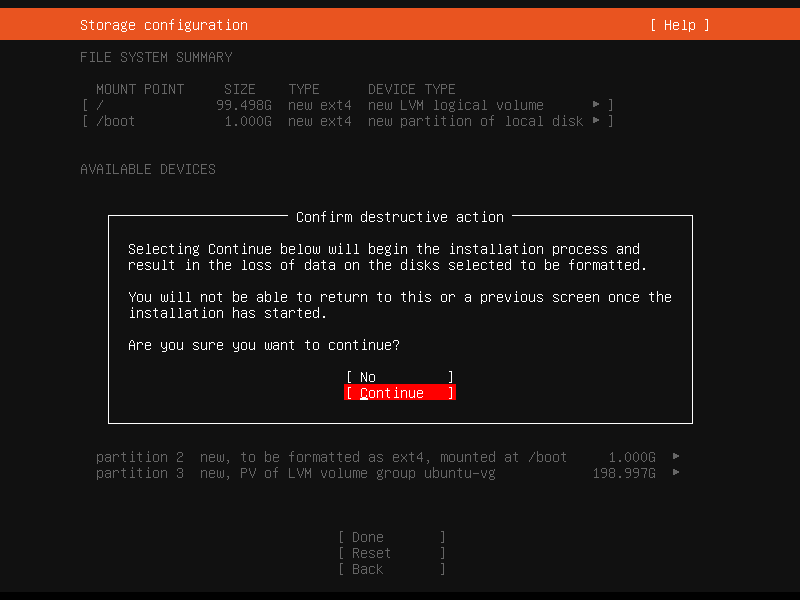
Step 8: Accept the default scheme:
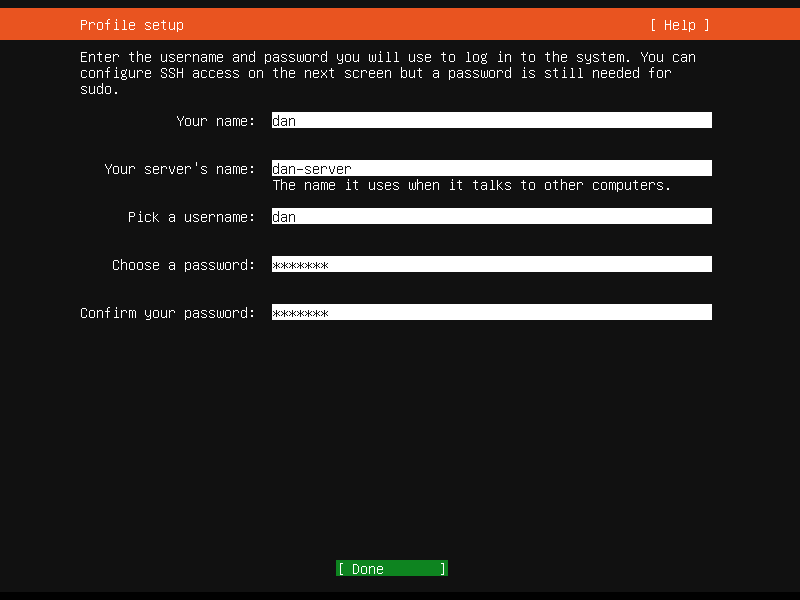
Step 9: The install starts progressing now, but still needs to ask for your name, the server name and login username and password. Enter yours and press Done:
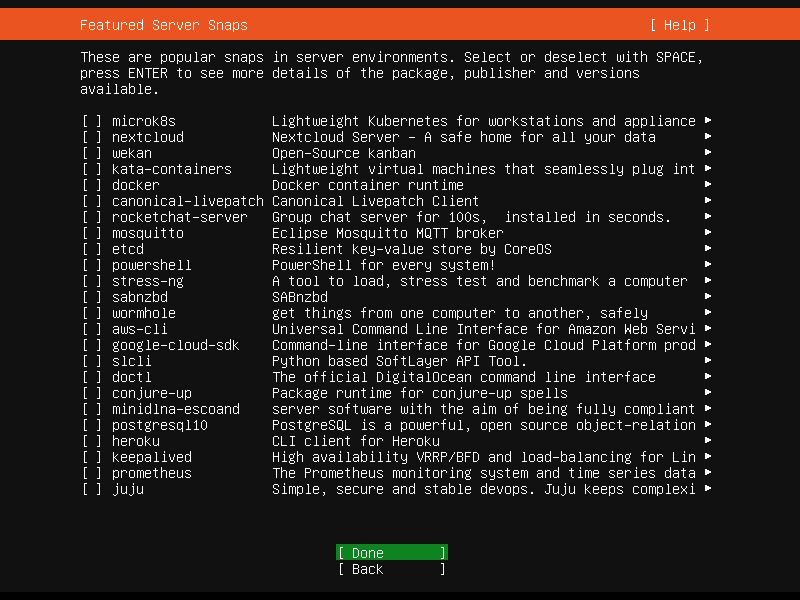
Step 10: You'll be offered snaps to also add to the install. None are needed for our setup, so just go to Done. If any are really interesting to use for you,
you can select them, or choose to add them later:
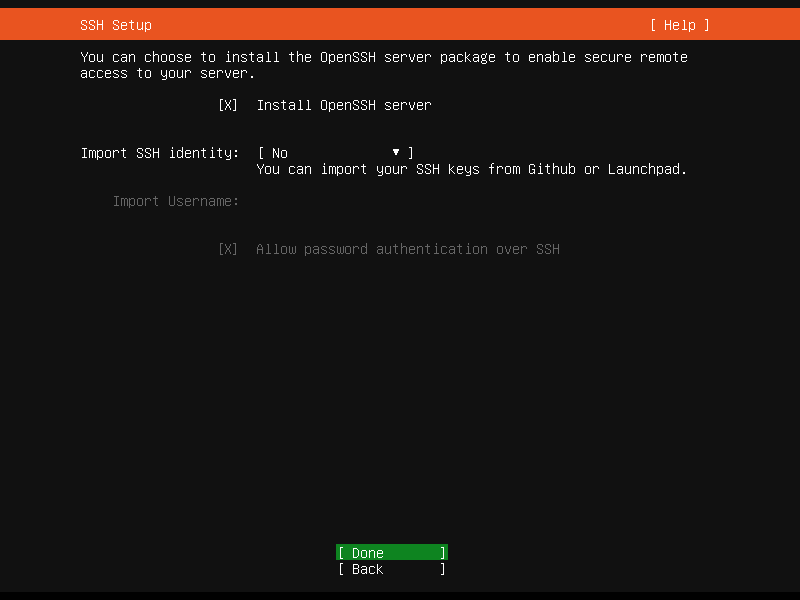
Step 11: You'll be asked if you want to install OpenSSH Server. Choose yes - that's really sensible. There's no need for you to import any identity for now
as we'll next configure open SSH to allow you to connect with your username and password from step 8:
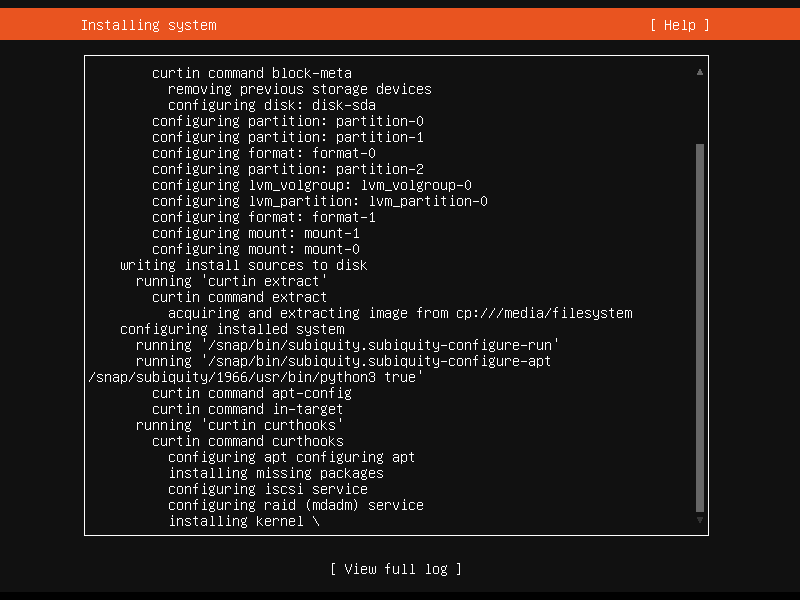
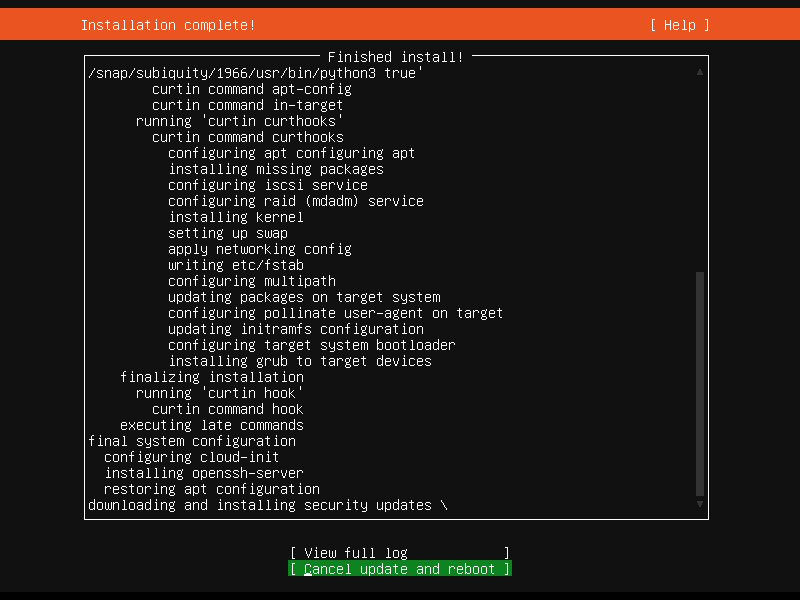
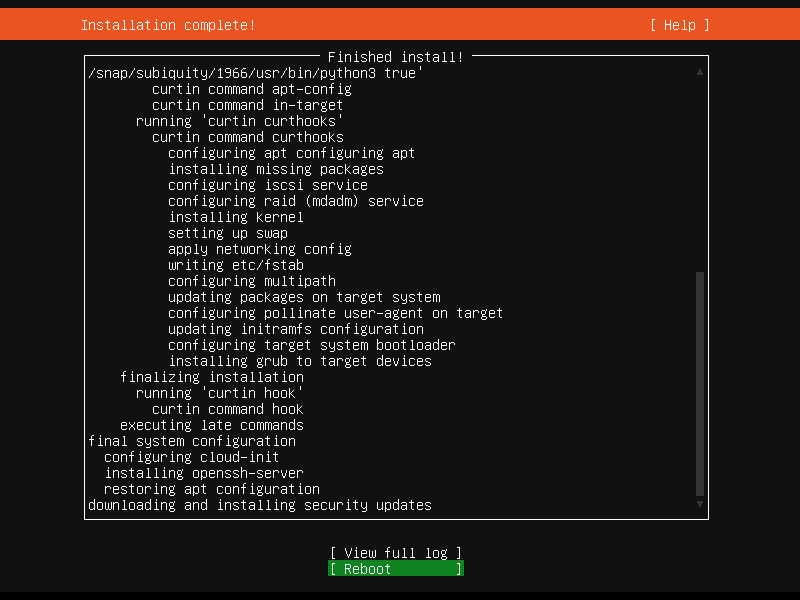
Step 12 to 14: Install will then continue, install some security updates and then choose to reboot. When prompted, remove the DVD or USB boot disk:
Get Updates
After the reboot, login with your user defined in Step 8
Now let's update everything first:
sudo apt-get update
sudo apt-get upgrade
sudo apt-get dist-upgrade
sudo reboot
Remote access
For this build - the PC will eventually be sitting with no monitor, keyboard or mouse plugged in and placed in a cupboard or wherever the Internet WAN connection comes in.
When we need to connect and administer it though, we can use terminal to connect in.
SSH
SSH is a great way to connect in and run terminal commands. Most of the time, this is exactly what you'll need to administer the server, including updates, reboots, backups, file manipulation and so on.
Open SSH Server does the job we need. If you missed installing it during the setup above, to install it use:
sudo apt-get install openssh-server
Then we'll edit some configuration.
sudo nano /etc/ssh/sshd_config
In this file, uncomment the line 'PasswordAuthentication yes'. Then save and enter these commands:
sudo service sshd stop
sudo service sshd start
You should now be able to connect from another PC to this one. From Windows, I use either mRemoteNG, which comes with PuTTy, or MobaXterm which also comes with an X-client (so you can install and run GUI programs from your GUI-less server and display them on your laptop), and an SFTP to allow easy transfer of files via SSH.
From other Linux machines, it's as easy as using the ssh command which is highly likely to be there already.
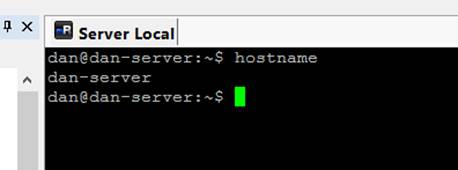
Connecting to the server with mRemoteNg