
Raspberry Pi OS Tweaks

![]()
Although I've not wrote about them until now, I have three Raspberry Pi's, with two in use.
They're a great and cheap little computer that enables a wide range of project possibilities. With the recent release of the Raspberry Pi 5, they are getting quite powerful too now and becoming a credible desktop replacement for simpler tasks.
This page is my own notes and takes on recommendations / tweaks to apply after installing Raspberry Pi OS on your Raspberry Pi for project use. It is more focused towards headless / GUI-less usage and the "Lite" version of the OS, instead of a desktop system.
Operating System (OS) and Installing
There are actually quite a few choices for the operating system of your Raspberry Pi. These include different Linux distros or Microsoft Windows 10 IoT Core, as well as 32-bit and 64-bit versions. For Raspberry Pi based media players, there is LibreElec and other projects more focused for that task.
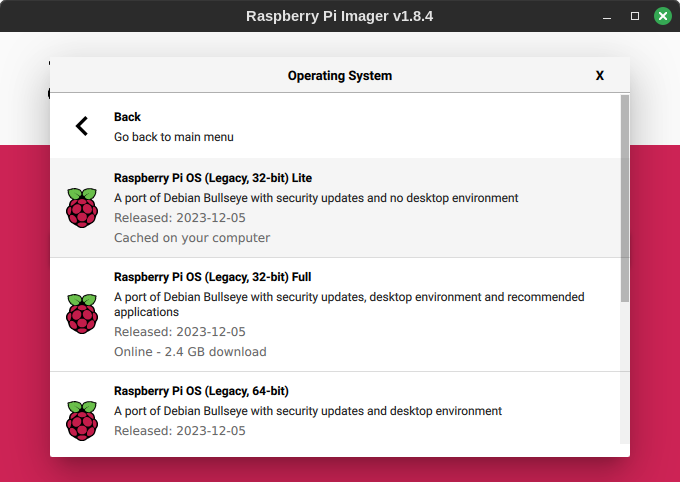
For the Raspberry Pi Zero, Raspberry Pi Zero 2 and Raspberry Pi 3 and older. Raspberry Pi OS 32-bit was designed for it and is usually the best fit. As the most used operating system, it'll have plenty of information information available for it online.
Unless you need a GUI and display, use the Lite version. This is around 2GB in size and will require the least RAM usage and be the quickest to keep up to date and secure.
So, this guide is focused on Raspberry Pi OS 32-bit Lite. The latest 32-bit version is based on Debian Bullseye - great for me because every Linux I use at home is ultimately based on Debian (i.e., Ubuntu, Mint, Zorin, Pop - these are all Desktop/Server focussed though).
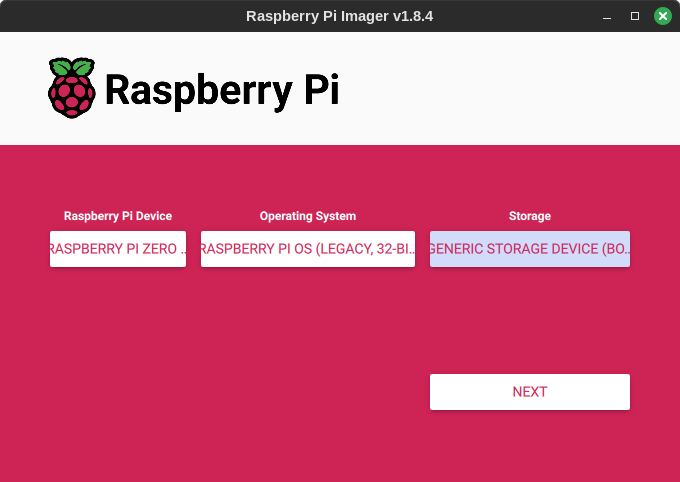
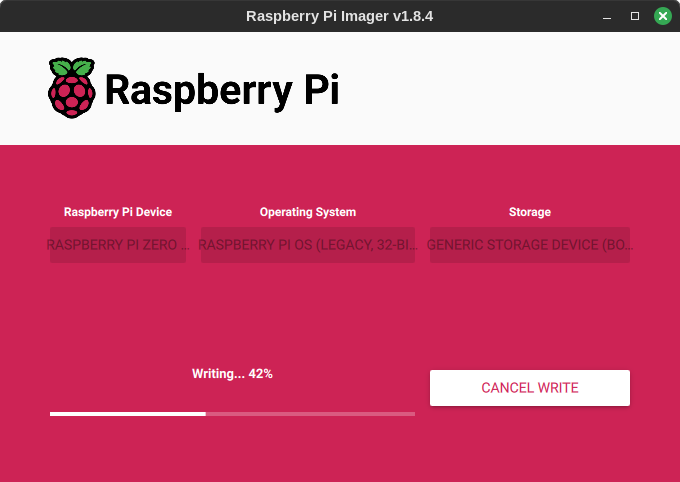
Raspberry Pi OS Lite does not come with a GUI. The easiest way to use it is the use the Raspberry Pi Imager tool. This takes care of downloading the right image and applying your preferences during the image write.
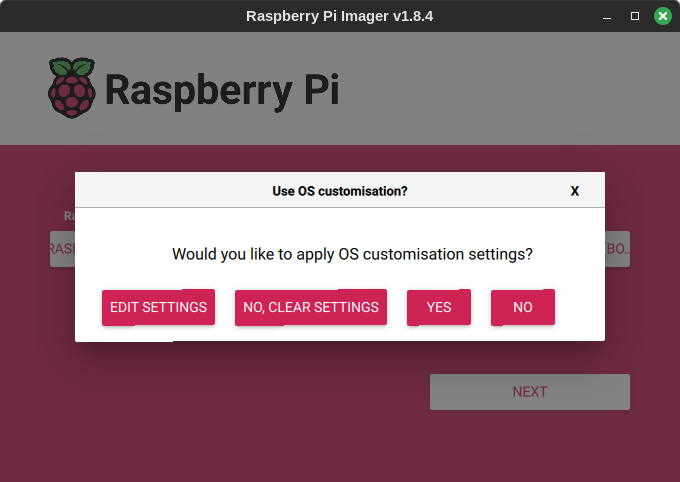
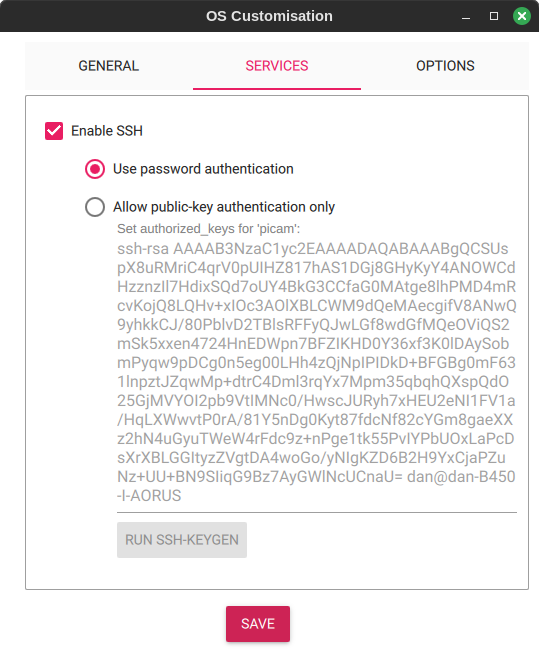
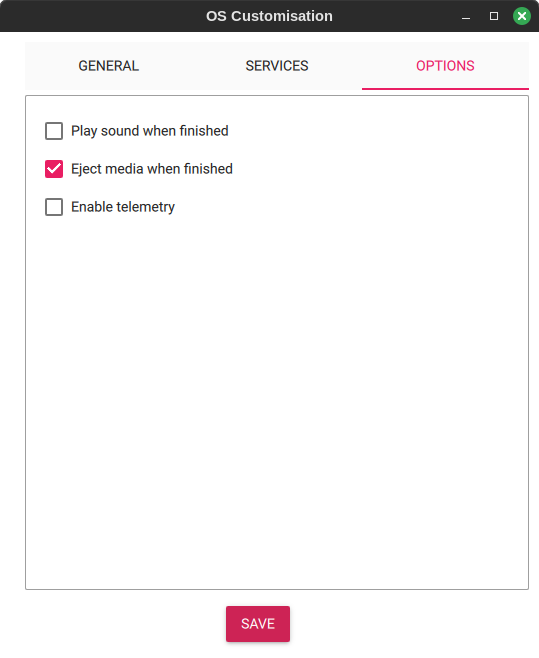
In the Options, specify your Wi-Fi SSID and Password and enable password based SSH authentication, so that once the OS is written to the SD card, the SD card inserted into the Pi and powered on, the Raspberry Pi will connect to your network, and you can SSH from a desktop or laptop to access its command line.
Whilst you're there, pick a different user other than pi. The pi user is commonly known, and hack attempts use that first, so using a different username reduces the risk, though I recommend to keep your Pi completely within your LAN anyway and not expose out to the general internet. My example shows piuser, but pick a user name more specific to your project name. Just be careful following other instructions and driver scripts online as many of them assume the user is "pi".

Mirrors and Updating
After setup, and booting for the first time, you'll need an SSH client to connect. If you're on Linux or macOS, it's built in. Windows will need either PuTTY, MobaXTerm or some other preferred client, or Windows 10+ users can install a Linux subsystem (WSL) through the Microsoft Store which is something you might like as you get used to the bash CLI (command line interface) anyway.
sudo nano /etc/apt/sources.list
Nano is a simple command line text editor that is easier to get used to over vi/vim. A guide is here.
In /etc/apt/sources.list, change the URL in the first line to something from the list at https://www.raspbian.org/RaspbianMirrors.
Copy the first row, then comment it out by appending a hash #. Then change the URL. My example for University of Kent UK Mirror Service:
#deb http://raspbian.raspberrypi.org/raspbian/ bullseye main contrib non-free rpi
deb http://www.mirrorservice.org/sites/archive.raspbian.org/raspbian bullseye main contrib non-free rpi
# Uncomment line below then 'apt-get update' to enable 'apt-get source'
#deb-src http://raspbian.raspberrypi.org/raspbian/ bullseye main contrib non-free rpi
Then update to make sure you have the latest updates:
sudo apt update
sudo apt upgrade
If the commands fail, check your URL, or go back to the original by removing the # from the list line and putting a # in front of your line.
ZRAM
I typically also install zram, which compresses RAM so we can make a little more use of that RAM available (in the Pi Zero, you get just 256MB):
sudo apt install -y zram-tools
ZRAM sacrifices some CPU power in order to potentially allow more processes in the RAM available. Typically, data in memory can compress quite well and it's handy to reduce the chance of paging to disk (the SD card unless you setup the page file somewhere else). The default configuration uses LZ4 compression which is usually the best performance / compression ratio for the little ARM chip.
Reducing SD Card Wear
It's fairly well known that many Raspberry Pi projects have died due to SD Card failure. This project has two options to reduce wear:
- Make the filesystem read only
- Adjust settings to reduce frequent writes
Making the entire system read only makes some sense. It makes it almost impossible to corrupt even if you unplug it without shutting down. It would however that you cannot store data locally (i.e. sensors values, databases, images/videos), unless you add and mount an additional USB flash drive (or hard drive).
At time of writing, 64GB SD cards are best value (especially multipacks) and having so much more space than needed will help prolong life as it's much bigger than the ~2GB space needed for Raspberry Pi OS Lite and the additional software added for this project. A larger card means the wear levelling firmware on its controller will need work less, and a high endurance card is more designed for frequent writing too (though it is towards writes of big files rather than tiny but frequent updates).
My projects do not use the read only approach as I'd like to ensure the OS is up to date with patches, and also the convenience of changing the code and set up when I wish to.
Despite recent SD cards having more storage and able to handle more writes, it's still a good idea to reduce data writes as much as possible to prolong life and also minimise the chance of power removal causing corruption.
Install iotop to get an idea of what processes are making writes:
sudo apt install -y iotop
Then run with:
sudo iotop -aoP
Let this run a while. I found journald and rsyslog were performing writes.
These commands change journald to log to RAM instead and replace rsyslog with busybox-syslogd (also logs to RAM by default - retrieve logs using logread | less).
sudo nano /etc/systemd/journald.conf
[Journal]
Storage=volatile
...
RuntimeMaxUse=64M
...
ForwardToConsole=no
ForwardToWall=no
...
Restart journald, install busybox-syslogd and remove rsyslog:
sudo systemctl restart systemd-journald

sudo apt-get install -y busybox-syslogd
sudo dpkg --purge rsyslog
These changes should help make a typical MLC NAND flash found on SD cards live for a few years.
Optionally, you can disable disk swap. Above, I've recommended installing zram anyway which reserves a portion of RAM for a compressed swap, but it will still swap to disk if this runs out too. If you've rather have processes fail in an out of memory situation to protect your memory card, turn off the swap. You also won't be able to suspend.
sudo dphys-swapfile swapoff
sudo dphys-swapfile uninstall
Hardening (security)
As mentioned earlier, when you set up the image to the SD card, pick another user other than 'pi'. This is a commonly attacked username, so pick something else! You do need to pay attention to any commands or scripts you find online though as they might often be hardcoded to the 'pi' user.
Automatic updates should be enabled if you plan to leave your project on unattended. It will install updates automatically and reboot at specified times.
sudo apt update
sudo apt install unattended-upgrades
Next edit /etc/apt/apt.conf.d/20auto-upgrades and replace with the following:
APT::Periodic::Update-Package-Lists "1";
APT::Periodic::Download-Upgradeable-Packages "1";
APT::Periodic::AutocleanInterval "3";
APT::Periodic::Verbose "1";
APT::Periodic::Unattended-Upgrade "1";
Edit /etc/apt/apt.conf.d/50unattended-upgrades and adjust these lines - remove // in front, and change false to true if needed:
...
Unattended-Upgrade::Automatic-Reboot "true";
...
...
Unattended-Upgrade::Automatic-Reboot-WithUsers "true";
...
...
Unattended-Upgrade::Automatic-Reboot-Time "14:00";
...
I've set my reboot time to 2pm in the afternoon in this example as my project ran during the night - configured your preferred time as needed.
Finally, reconfigure.
sudo dpkg-reconfigure --priority=low unattended-upgrades
Once all setup, it should be noted that the Pi has no firewall by default, we've enabled password based SSH and the web streamers have no security either. Also, web access is via http (not https).
Here's how to set up the firewall. I'm using UFW (uncomplicated firewall) here as it's much simpler than adjusting iptables directly:
sudo apt install ufw
sudo ufw allow 22
sudo ufw limit 22
sudo ufw allow 80
sudo ufw allow 443

sudo ufw show added
sudo ufw enable
We've added ingress allow rules for port 22 (SSH), port 80 (HTTP) and port 443 (HTTPS). Egress (reaching out) is not covered by firewall by default and shouldn't need to be.
You now won't be able to get to ports any internal ports like web interfaces on 8080, so only enable a firewall after either adjusting those services to the appropriate port or testing them through a nginx reverse proxy.
SSH can be fixed by generating and uploading keys from your client machines (ssh-keygen followed by ssh-copy-id). Once you have the keys (and secure them so that you won't lose them, but others cannot get them!), you can then remove password based authentication.
To generate an SSH key at a Linux client, and transfer it to the pi, it's easy:
ssh-keygen
ssh-copy-id piuser@x.x.x.x  (where x.x.x.x is your pi's IP address or hostname)
If you want to connect from Windows instead, search for the method on whatever software you are using to connect or install WSL (Windows Subsystem for Linux).
Then, when logged into the pi we can disable SSH password authentication by modifying /etc/ssh/sshd_config:
sudo nano /etc/ssh/sshd_config
Change:
#PasswordAuthentication yes
to:
PasswordAuthentication no
Then restart ssh:
sudo systemctl restart sshd.service
Be sure your passwordless key based login is working first, and backed up because if not, you now can't get in and the only way to regain access will be through ejecting the SD card and modifying there, or by connecting a monitor + keyboard to the Pi.
By default, the Pi does not require a password to use sudo. This is convenient, but if someone gains access to the pi (or piuser in my renamed example) account, they can do anything without a password. To add more control, edit /etc/sudoers.d/010_pi-nopasswd (sudo nano /etc/sudoers.d/010_pi-nopasswd). Change:
piuser ALL=(ALL) NOPASSWD: ALL
to:
piuser ALL=(ALL) PASSWD: ALL
piuser ALL=(ALL) NOPASSWD: /sbin/shutdown
piuser ALL=(ALL) NOPASSWD: /sbin/reboot
This will make any admin command require the system password at least once, except for running shutdown and reboot where you should not be prompted for a password.
If your project hosts a web interface - web security can be done with nginx. This can be enabled for basic authentication and enabled for SSL (port 443) by signing a certificate. I'm not covering the details here as it is vast and depends whether your ISP can forward port 443 to you and you have a DNS name for general internet access, or whether you just want SSL for LAN usage and want to sign your own certificate - there is little point though unless you're sharing your LAN with really untrustworthy people!
My advice is don't expose anything directly to the Internet. If you do need remote access, consider hosting a VPN. I can access my Pi remotely via my VPN setup (which runs on a separate server), so if I need to access my projects whilst away from home, I can log in with the open vpn app and then navigate to their interfaces. The VPN takes care of encryption and security, so I've not worried about the interfaces themselves being open.
If you don't trust those with physical access to your project, things become more challenging as ejecting the SD card means it can be read anywhere. This is a challenge I've not gave myself, but there are guides out there. It's questionable if it is worth it though - my advice is not to store anything sensitive on the Pi in the first place.
Conclusion
The standard setup of Raspberry Pi OS is getting better, but it's aimed to be as simple and generic as possible and therefore lacks tweaks that you should consider for your project, especially as it nears completion.
The above should not take much time to implement but should help your project run longer and more securely. As mentioned, these tweaks I've applied to all my Pi projects that use Raspberry Pi OS.
References and more reading:
- Raspberry Pi Official Imager Download
- Sean Carney - Secure your Raspberry Pi by enabling automatic software updates
- PiMyLifeUp - Using the UFW Firewall on the Raspberry Pi
- Reddit.com Tsiox - Better Linux Disk Caching & Performance with vm.dirty_ratio
- RaspAP - Minimal SD Write - Replace logger
- Raspberrypi.com forum - Bullseye and journald